Ann Keener's Butternut Squash Galettes

IMGP9580.jpg

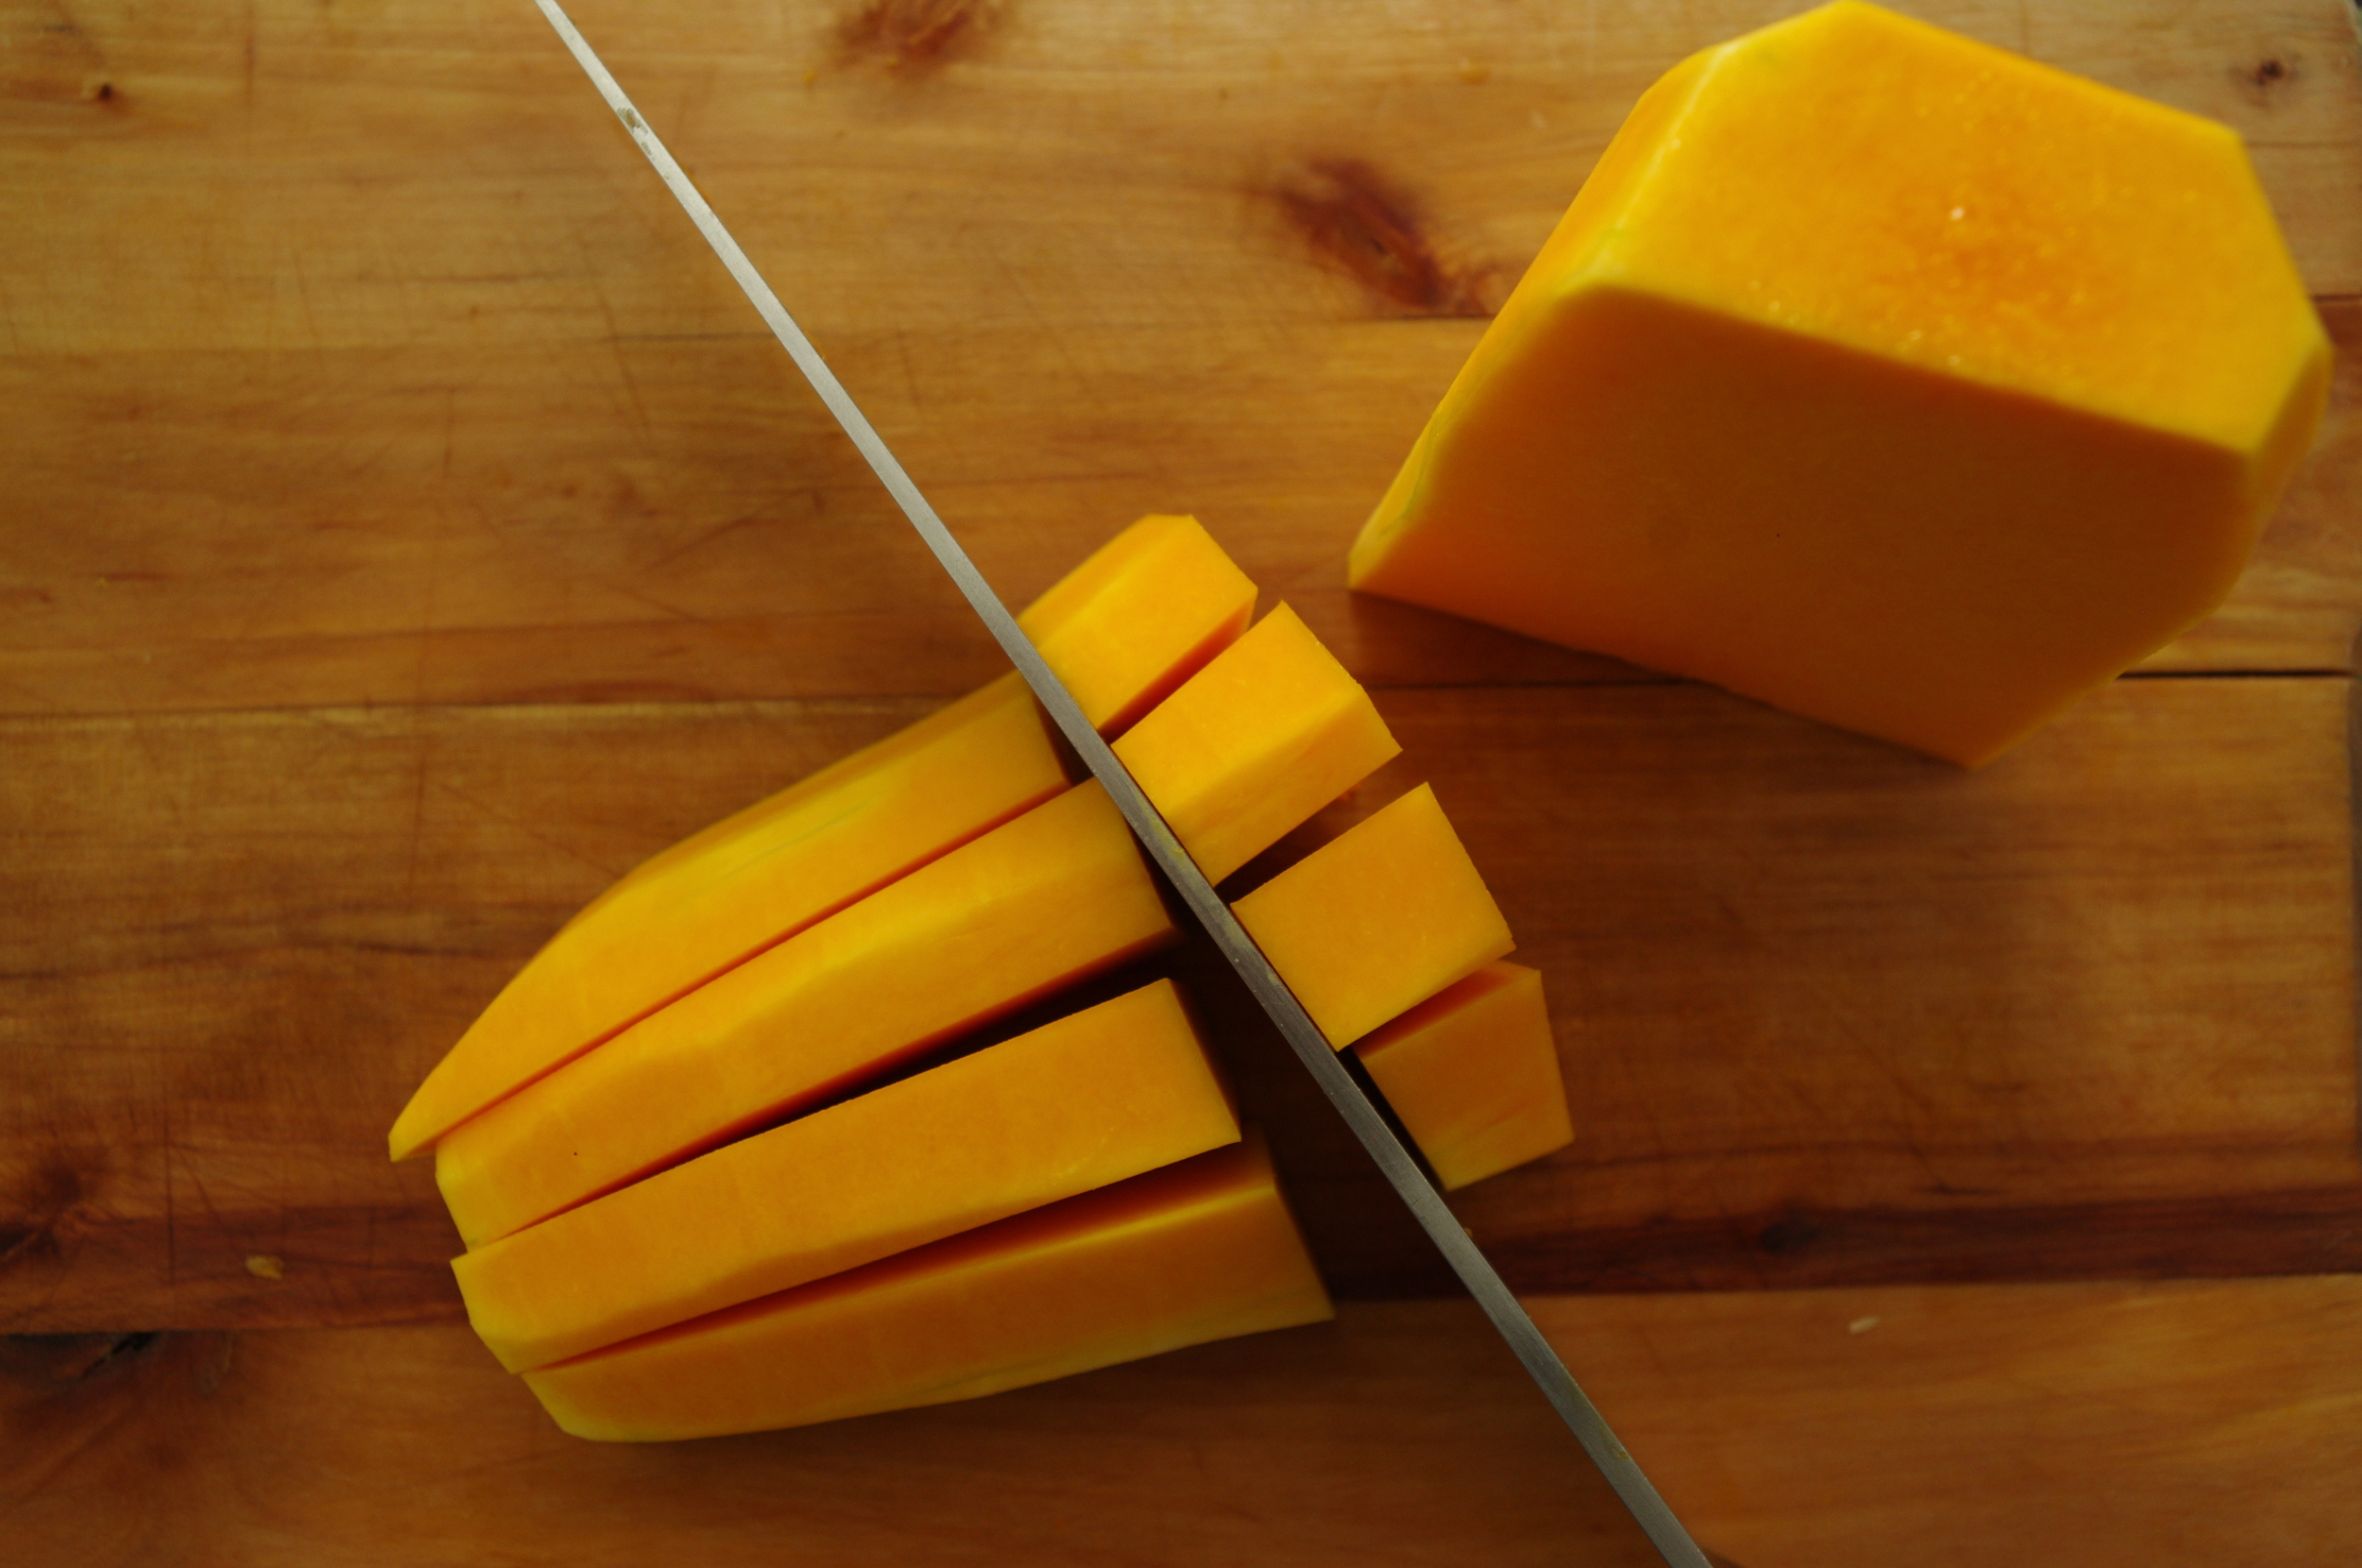
Ann Keener was selling some of these delicious Butternut Squash Galettes at the Main Street Farmer's Market last winter.  I bought more than I probably should have, but they were worth it.  When this year's butternut squash harvest was ready I couldn't get the ginger-coconut sweetness wrapped in flaky buttery pastry taste out of my mind. So now we have a blog full of tasty butternut squash recipes that happened while I was trying to pluck up the courage to ask Ann for hers. Fortunately, she is kind enough to share her galette recipe with us all.  Thank you Ann...you are the best.

Ingredients:

Pastry Dough:

1 1/2 Cups all-purpose flour (or 1 cups + 1/2 cup whole wheat)

1/2 Cup plus 2 T cold unsalted butter, or 1 1/4 sticks

1/2 t salt

1/2 Cup ice water

Blend butter into flour and salt with finger-tips or pastry blender.  Toss ice water in gently with a fork or hand til all the dough is just moistened.  Chill in fridge at least 2 hrs before using.

Filling:

1 1/2 Cups butternut puree

1 Cup unsweetened flaked coconut

1/2 Cup sugar (I like the mild taste of the raw can sugar they sell at Whole Foods in the bulk bin, but obviously substitutions can be used)

1/2 Heaping tablespoon of coarsely grated fresh ginger root, or to taste (hint: it's the ginger that makes it awesome)

Pinch of salt

Mix filling just before using, the sugar will begin to liquefy it otherwise.

Method:

Divide dough as desired and roll into circles (it's ok of they're not perfect) about 1/8 inch thick- not too thin- or about 6-7 inches for small.  This recipe will make about six 5-inch galettes. Use about 1/3 cup filling for small galettes, and smooth it out on dough, leaving a 1-2 inch border.   Fold dough over filling, overlapping alternately as needed.  Sprinkle a little coconut in the middle of each, for a pretty contrast.  I usually form these on the baking sheet so that I don't have to move them around too much- give about 2 inches between each one.
Preheat oven to 400 degrees and stick galletes in freezer for about 10 minutes before baking (this helps make the crust extra crispy).  Bake about 15-20 minutes

Roasted Butternut Squash Baked Custard

IMGP9549.jpg

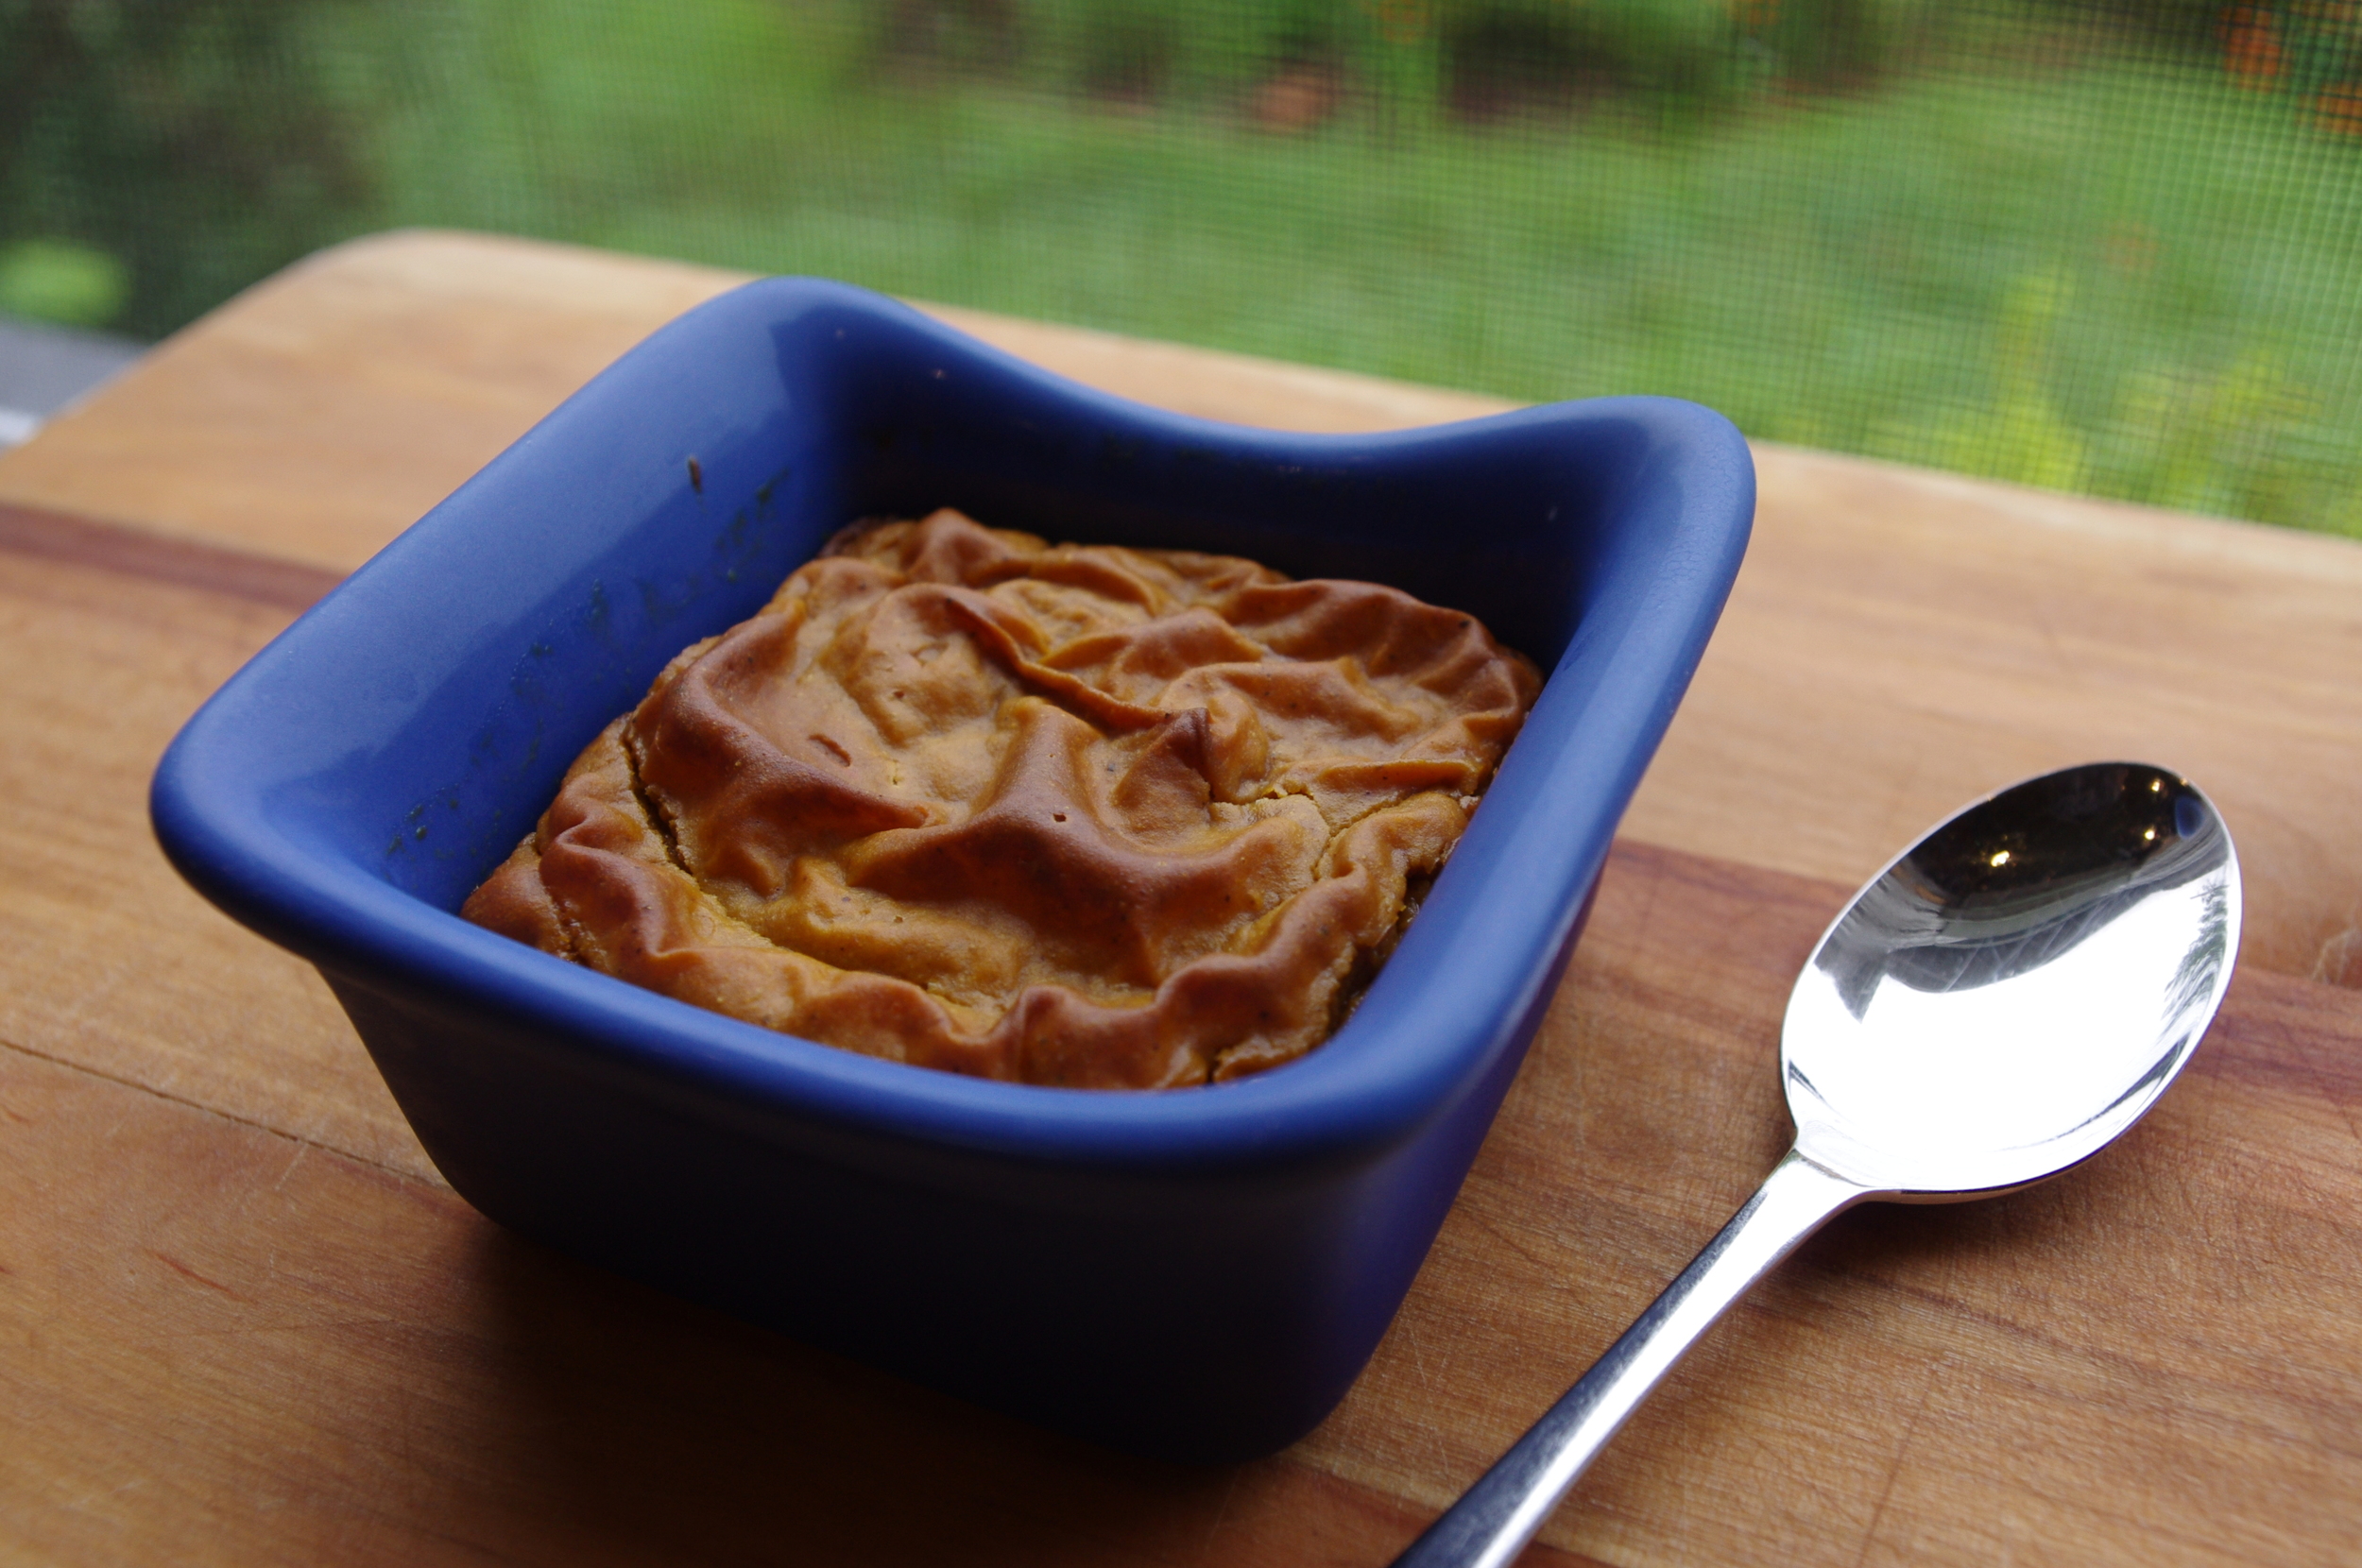
After these came out of the oven I immediately thought that if I had a blow torch I might have covered them in sugar and called it brulee.  The texture is soft like a pie, but less eggy than a true custard.  If you do want to make a pie, or light up a blow-torch to make a sugary shell for fun; this custard-like filling would be appropriate, but neither is required.  As is, this warm baked custard is sufficiently delicious. Also, for anyone with allergies: This recipe is gluten and dairy free.

Ingredients:

1 Medium butternut squash (about 1 1/2 -2lbs)

1 large or 2 small farm-fresh eggs

1 can unsweetened full-fat coconut milk (cold pressed)

1 Tbs local raw honey

Juice from 1/2 lemon

Kosher salt

Ground ginger

2 Kaffir lime leaves, dried or fresh (optional)

Olive or canola oil

Method:

Preheat oven to 400 degrees.  Peel the butternut squash, remove seeds, and dice into 1/2 inch cubes. Place in a baking dish and toss with a little oil.  Season with a sprinkle of kosher salt and a generous dash of ground ginger.  Place in the oven and bake for 60 - 90 minutes, or until the edges begin to turn dark brown, the squash is soft, and has lost a good bit of moisture. (See: How To Prepare Winter Squash).

About 15 minutes before the squash is done, place the coconut milk in a medium saucepan with the kaffir lime leaves and let simmer on the lowest heat setting.  Do not boil. Once the squash has caramelized, remove from the oven and add to the coconut milk.  Continue to simmer for another 15 minutes or so. Remove from heat and let cool. Discard the kaffir lime leaves.  Place the squash and milk mixture in a blender.  Add the honey and lemon juice then puree until combined.  Taste and adjust seasonings, honey, or lemon juice as desired.  Add the egg(s) then puree until smooth.  Pour or spoon into ramekins.

Place filled ramekins on a baking sheet in the oven and bake for about 30 minutes at 375 degrees.  Baking time will vary depending on the size of the ramekins.  If baking as a pie, reduce temperature to 350 degrees and cook for about one hour.  The custard will puff up and be set when done.  Remove from the oven and let rest for at least 20 minutes.  Serve warm or cold.

Coconut Butternut Squash Pie

IMGP9541.jpg

Two coconut butternut squash pie recipes in one week? Yes, well, who could turn down the opportunity to share Ann Keener's Butternut Squash Galette recipe? Also, playing with your food is generally a good idea, despite what your mother might have said.  So while making the galettes, custard, and waffles, I thought I'd play around with fusing some of these ideas together.  The result is a coconut flavored butternut pie...or maybe a butternut flavored coconut pie.  Either way, it's delicious.

Ingredients:

1 Recipe for Classic Pie Crust

1 Medium butternut squash (about 1 1/2-2 lbs)

1 Can of full-fat coconut milk (or substitute 16 oz of heavy cream)

1/2 Cup unsweetened fine-shred coconut

1/2 Cup local raw honey

1/2 tsp kosher salt

3 farm-fresh eggs

Dash of cloves

Dash of cinnamon

Juice from 1/2 lemon

Method:

Prepare one recipe for Classic Pie Crust and bake blind in one large or two small pie plates.

Preheat oven to 375 degrees.  Cut away the ends of the squash, then slice in half at the point where the straight sides meet the round end. Remove the peel and scoop out the seeds.  Grate what is left of the round end until you have about 1 cup of grated squash.  Chop the rest of the squash into 1-inch cubes. (See: How To Prepare Winter Squash).

In an 8x8 baking dish, combine the coconut milk, cubed squash, cloves, cinnamon, and salt.  Bake uncovered for 1 hour.  Remove from oven and let cool.  Once the squash mixture is at room temperature, place in a blender with the coconut, lemon, and honey.  Puree until smooth.  Add more salt, spices, honey, or lemon to taste.  Add eggs and puree again until smooth.  Fold in the grated squash.

Pour the mixture into the pre-baked pie crusts.  Bake pies for about 1 hour, or until the filling puffs and is set.  Remove from oven and let rest for at least 30 minutes before serving.  Serve warm or cold.


Winter Squash: How to prepare for recipes

IMGP9555.jpg

These fall beauties are not to be relegated to the tabletop as decorations.  They are meant to be peeled, chopped, roasted, steamed, or pureed.  Though they are not related, imagine them as large carrots or beets with thick skins, if you will.  Members of the winter squash family are delicious, naturally sweet, and full of dietary fiber, vitamins and minerals. If picked fresh from a green vine they would have a high starch content and less flavor.  Properly "cured" winter squash is left in the field until the vines have died, the stems have dried and hardened, and the squash skins have thickened.  The curing process continues after the harvest by leaving them in a dry window or counter top long enough to develop thicker, darker colored skins.  In this process the starches convert to sugars and the flavors become complex. Though the naturally thick, waxy skins are sometimes difficult to remove, they serve to preserve the squash for months on end.  If stored in a well-ventilated, dry place, and protected from getting cracks and bruises, they will continue to be delicious throughout the winter. Cool, but not cold storage is required, so feel free to decorate your kitchen while you are saving extras for the winter months.  Click here for more information about the curing process.

Some winter squash have thinner, more edible skins.  Delicata squash, for example, does not generally last as long as a butternut squash or pumpkin, but the skins are lovely and soft when cooked. Although natural sugars are a highlight to winter squash, they are perfect additions to a variety of both sweet and savory dishes.

There are many ways to prepare winter squash for recipes, and how you choose to prepare them may depend on the variety or the recipe.  Before you begin, a couple of helpful kitchen tools to have are: 1) A sharp, good sized cooks knife or santoku knife.  2) A non-slip cutting board.  


Squash Puree: Three Ways (commonly used for muffins, cakes, pies, custards, etc.)
IMGP9562

Baked (Best method for acorn or other deeply ridged squash):

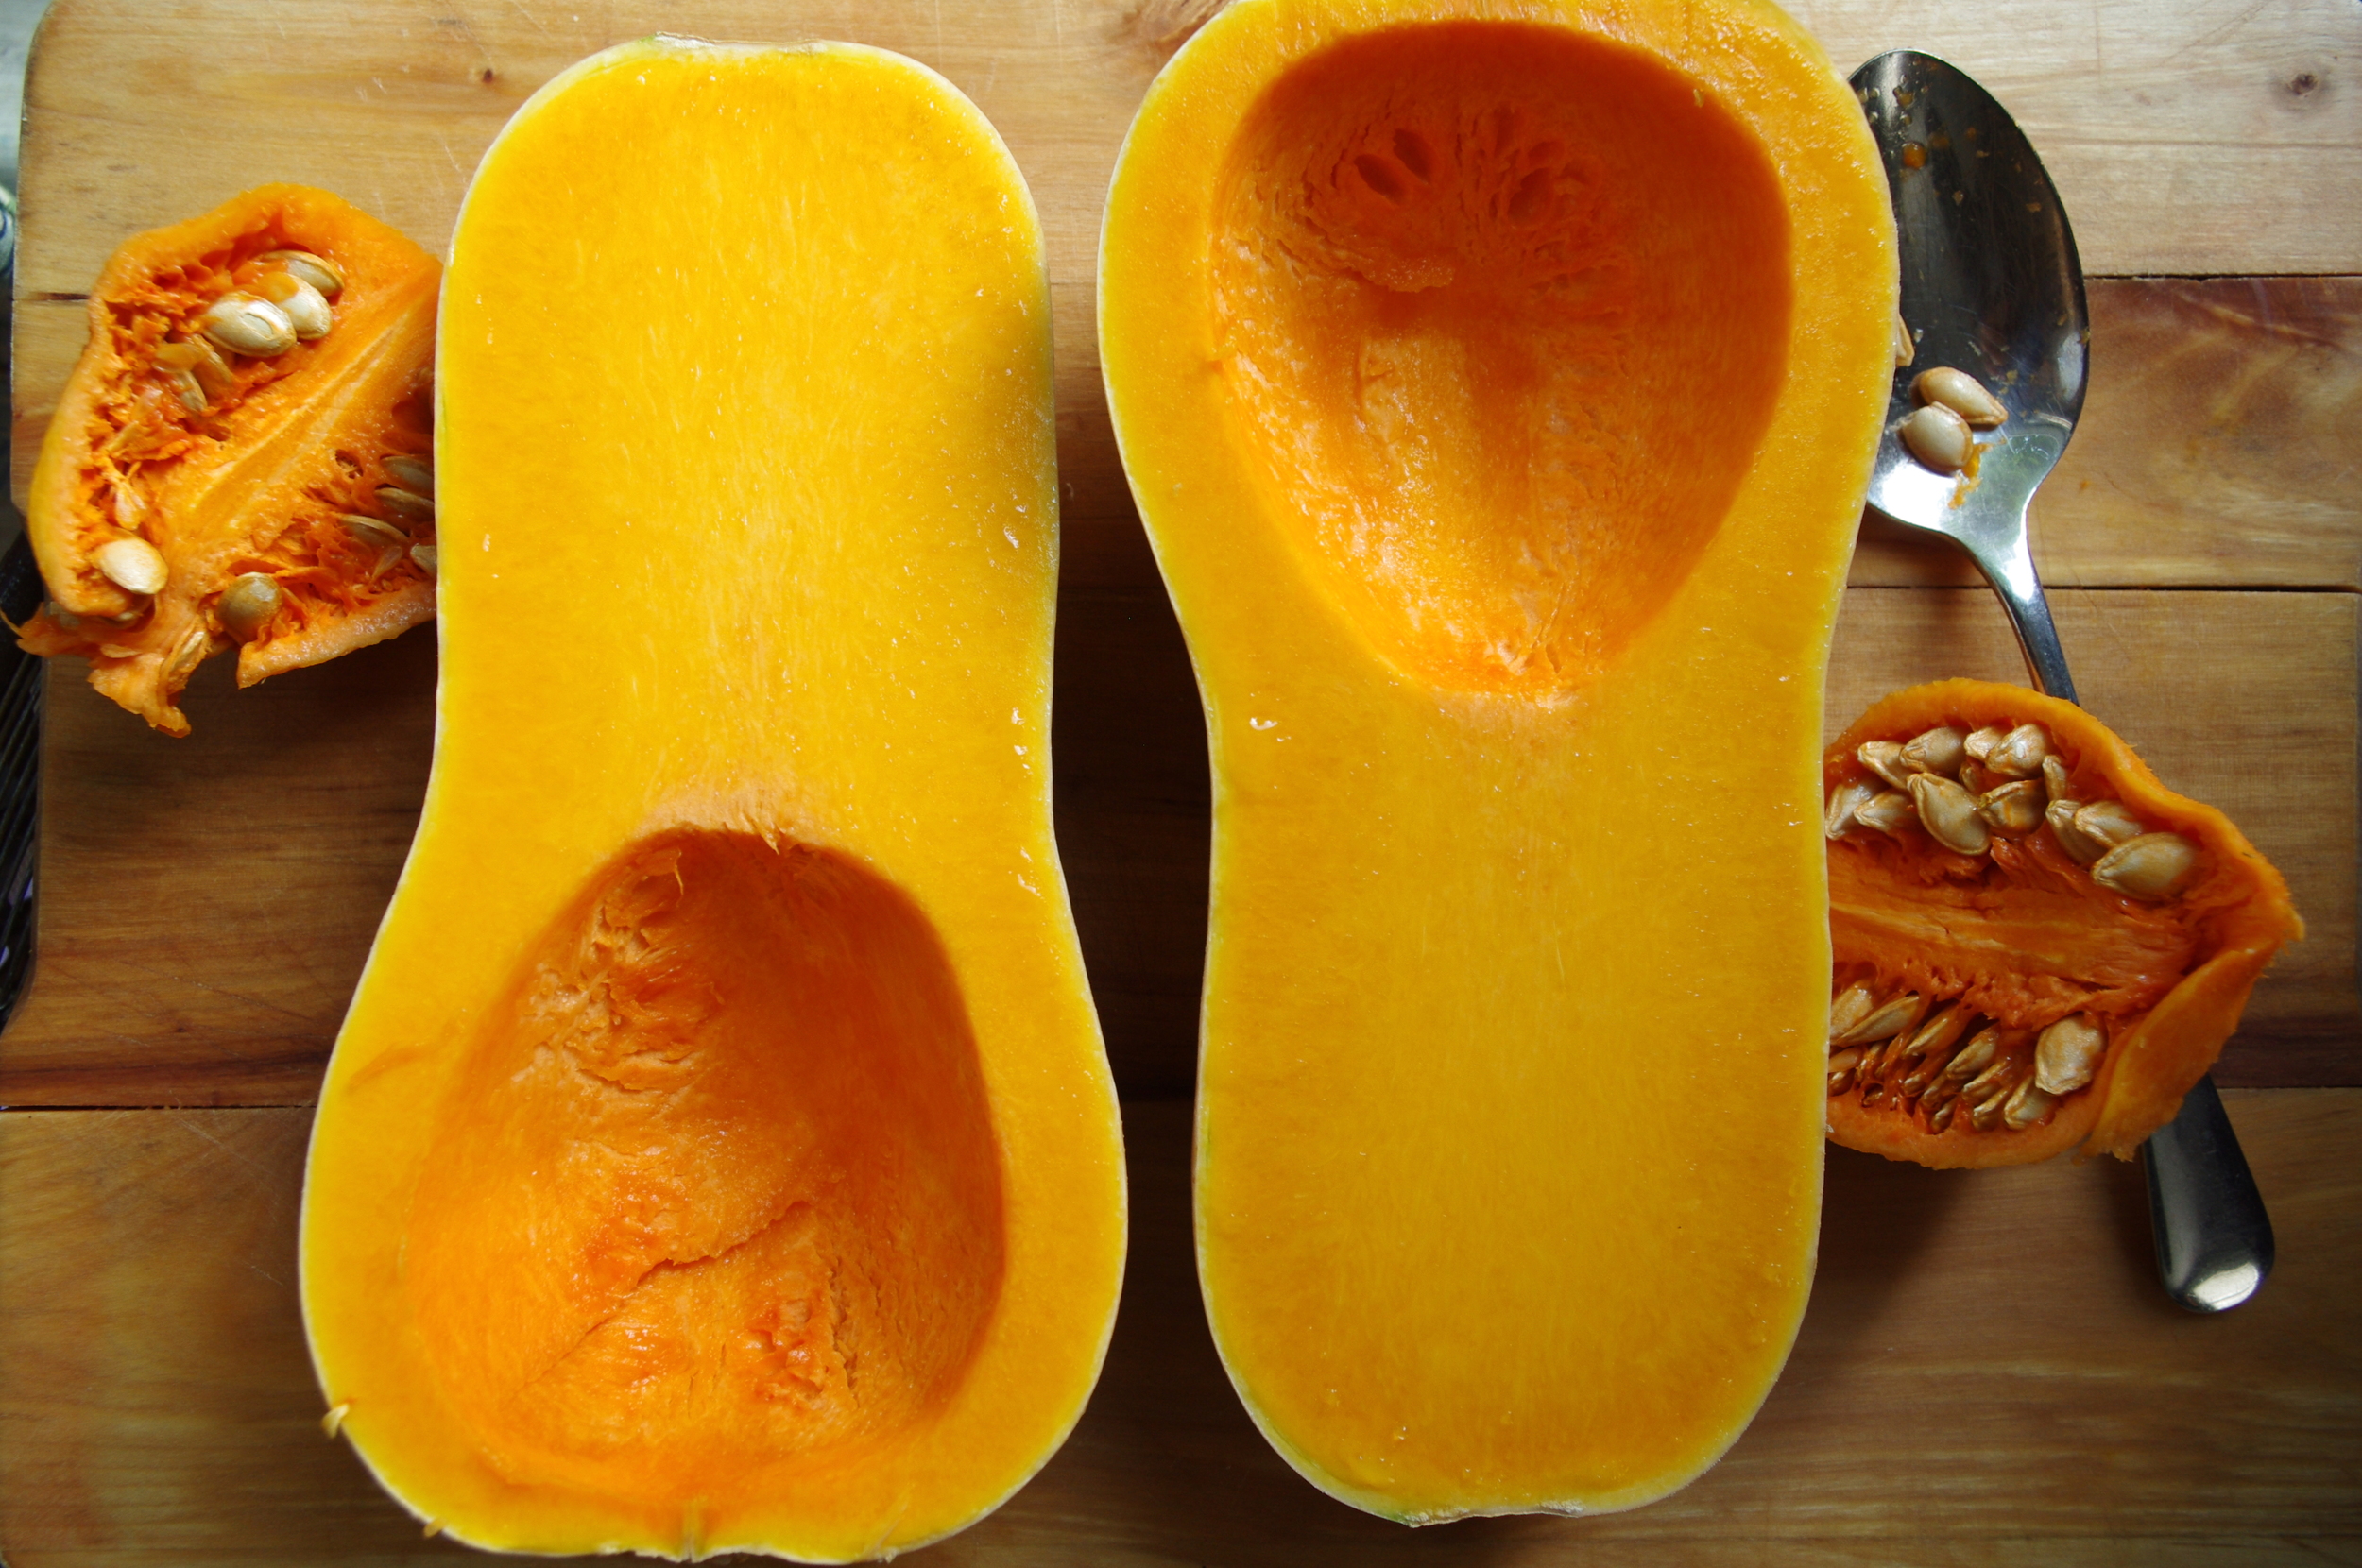
Cut squash in half lengthwise.  Scoop out seeds with a spoon.  Brush cut sides with a little oil and place cut side up or down (up to dry the squash more, down to caramelize the edges and have a more wet puree). Bake at 400 degrees for 45 to 90 minutes or until the squash begins to shrivel and is soft when the fork is inserted.  Remove from the oven and let cool.  Scoop out the squash, or pull the blistered skin away from the pulp.  Discard the skin. Place the squash in a blender and puree to the desired texture.

IMGP9569

Steamed:

Cut ends off the squash, then cut in half crosswise.

IMGP9565

With the widest cut side down, remove the skins by carefully slicing from top to bottom, working your way around the sides. When the skins are removed, scoop out the seeds and discard.
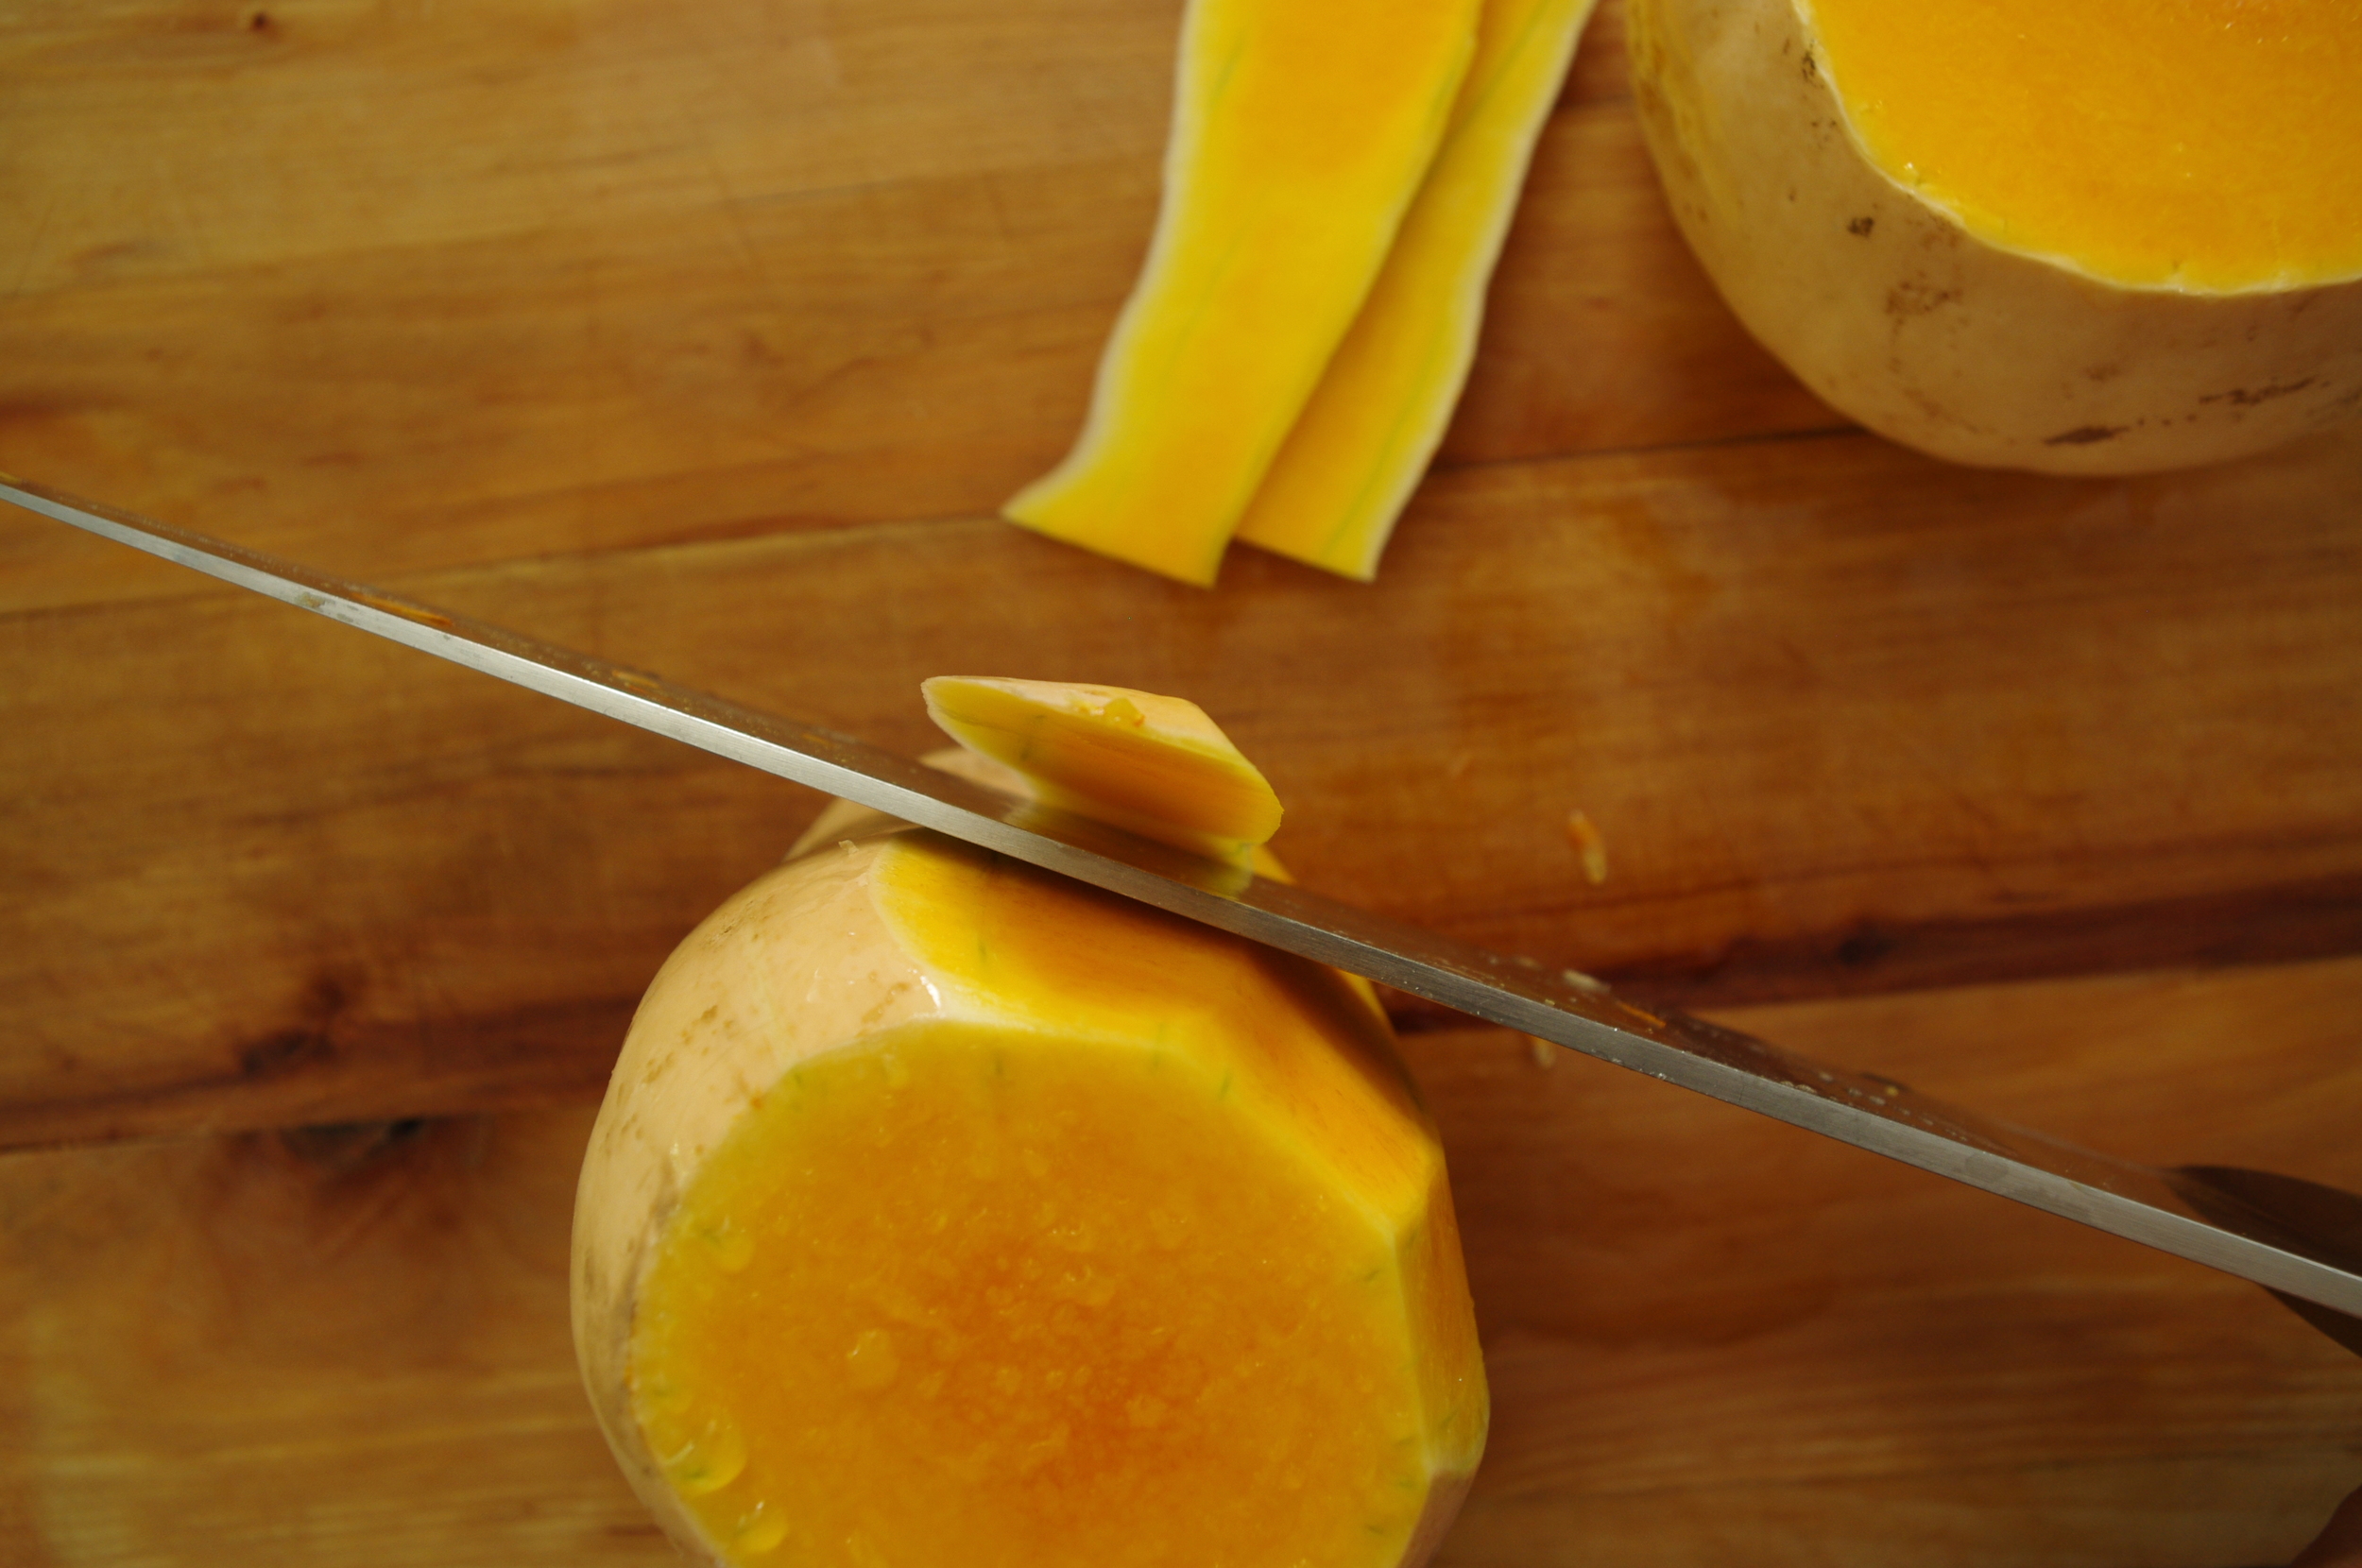
IMGP9566

Cut the squash into 1/2 inch cubes.

IMGP9568

Place the squash in a steamer basket inside a large sauce pan.  Put 1-2 cups of water in the bottom of the pan and cover with a lid.  Turn heat to medium-high and steam until the cubes of squash are soft. Remove from heat and let cool.  Puree with a blender to the desired texture.

Roasted:

Follow directions above for removing the squash skins. Cut into 1/2 inch cubes. Place on a baking tray or large casserole dish and coat with a little oil. Sprinkle a little kosher salt and dried spices on the squash and bake in the oven at 400 degrees for about 1 hour, or until the edges turn dark brown and caramelize a bit.   This method will produce the driest result, but the most flavor. From here you can mash, puree in a blender, or simmer in another liquid like milk, juice or broth to re-hydrate before turning into a puree. Caramelizing the squash adds richness and concentrated sweetness, allowing you to reduce any added sugars (if any) to your recipes.

IMGP9573


Now that you have your squash puree, here are a few tasty winter squash recipes for you to try:

Moroccan Spiced Red Lentil Soup

Ann Keener's Butternut Squash Galettes

Coconut Butternut Squash Pie

Roasted Butternut Squash Baked Custard

Butternut Squash Buttermilk Waffles


Back To School News!

IMGP9496.jpg

Back to School Edition:

How learning to cook, healthy lunches, and your public library can change the future.

It's back to school time and many families are working out routines for getting back into the swing of school and work schedules.  Preparing and packing lunches can be a chore, but also a great opportunity for teaching children about the importance of balanced nutrition.  School nutrition programs are also making strides to improve in-house school meals, with more fresh fruits and vegetables being offered with lunches, farm-to-school programs, and the removal of vending machines. However, getting kids involved in making healthy choices for themselves is an essential part of changing their increasing risk for developing serious illnesses such as diabetes or heart disease.  And any age is the right age to begin learning.

There are many great resources for families who are interested in learning or re-learning ways to improve diets, spend time together with constructive activities, or simply get more ideas for tasty ways to enjoy fresh foods.  Our favorite resource for families is Chop Chop Magazine.  It is a relatively new publication from a non-profit organization, and supported by a host of foundations and the American Academy of Pediatrics.

From their website: "ChopChopKids is an innovative non-profit organization whose mission is to inspire and teach kids to cook real food with their families. We believe that cooking and eating together as a family is a vital step in resolving the obesity and hunger epidemics."

For more information about the magazine, newly published cookbook, or mission, check out Chop Chop's website or facebook page: http://www.chopchopmag.org/

Another great website with fun, interactive kid's cooking videos and games is produced in the UK by BBC: http://www.bbc.co.uk/cbeebies/i-can-cook

The Chattanooga Public Library has a fantastic website for finding online resources, searching for books, and event notifications, among other things.  There are multiple locations throughout the city where friendly librarians are ready to help you find the books you need.  Halle Henderson, librarian (and local food enthusiast), from the South Chattanooga Branch was happy enough to put together two helpful articles with cooking and local food related resources:

Here is a great article with the Library's favorites among vegetable cook books: http://chattlibrary.org/content/eat-your-veggies As our librarians like to say, "If you carrot all about what you eat, peas lettuce help you turnip these and other vegetable books. They can’t be beet."

Last but not least, If you are not returning to school this week, and would like to make the most of the rest of your summer, click here for a great list of some summer-fun cook books.

This week's recipes:

Heirloom Tomato Soup

Fresh Veggies with Home Made Hummus Dip


From the archives:

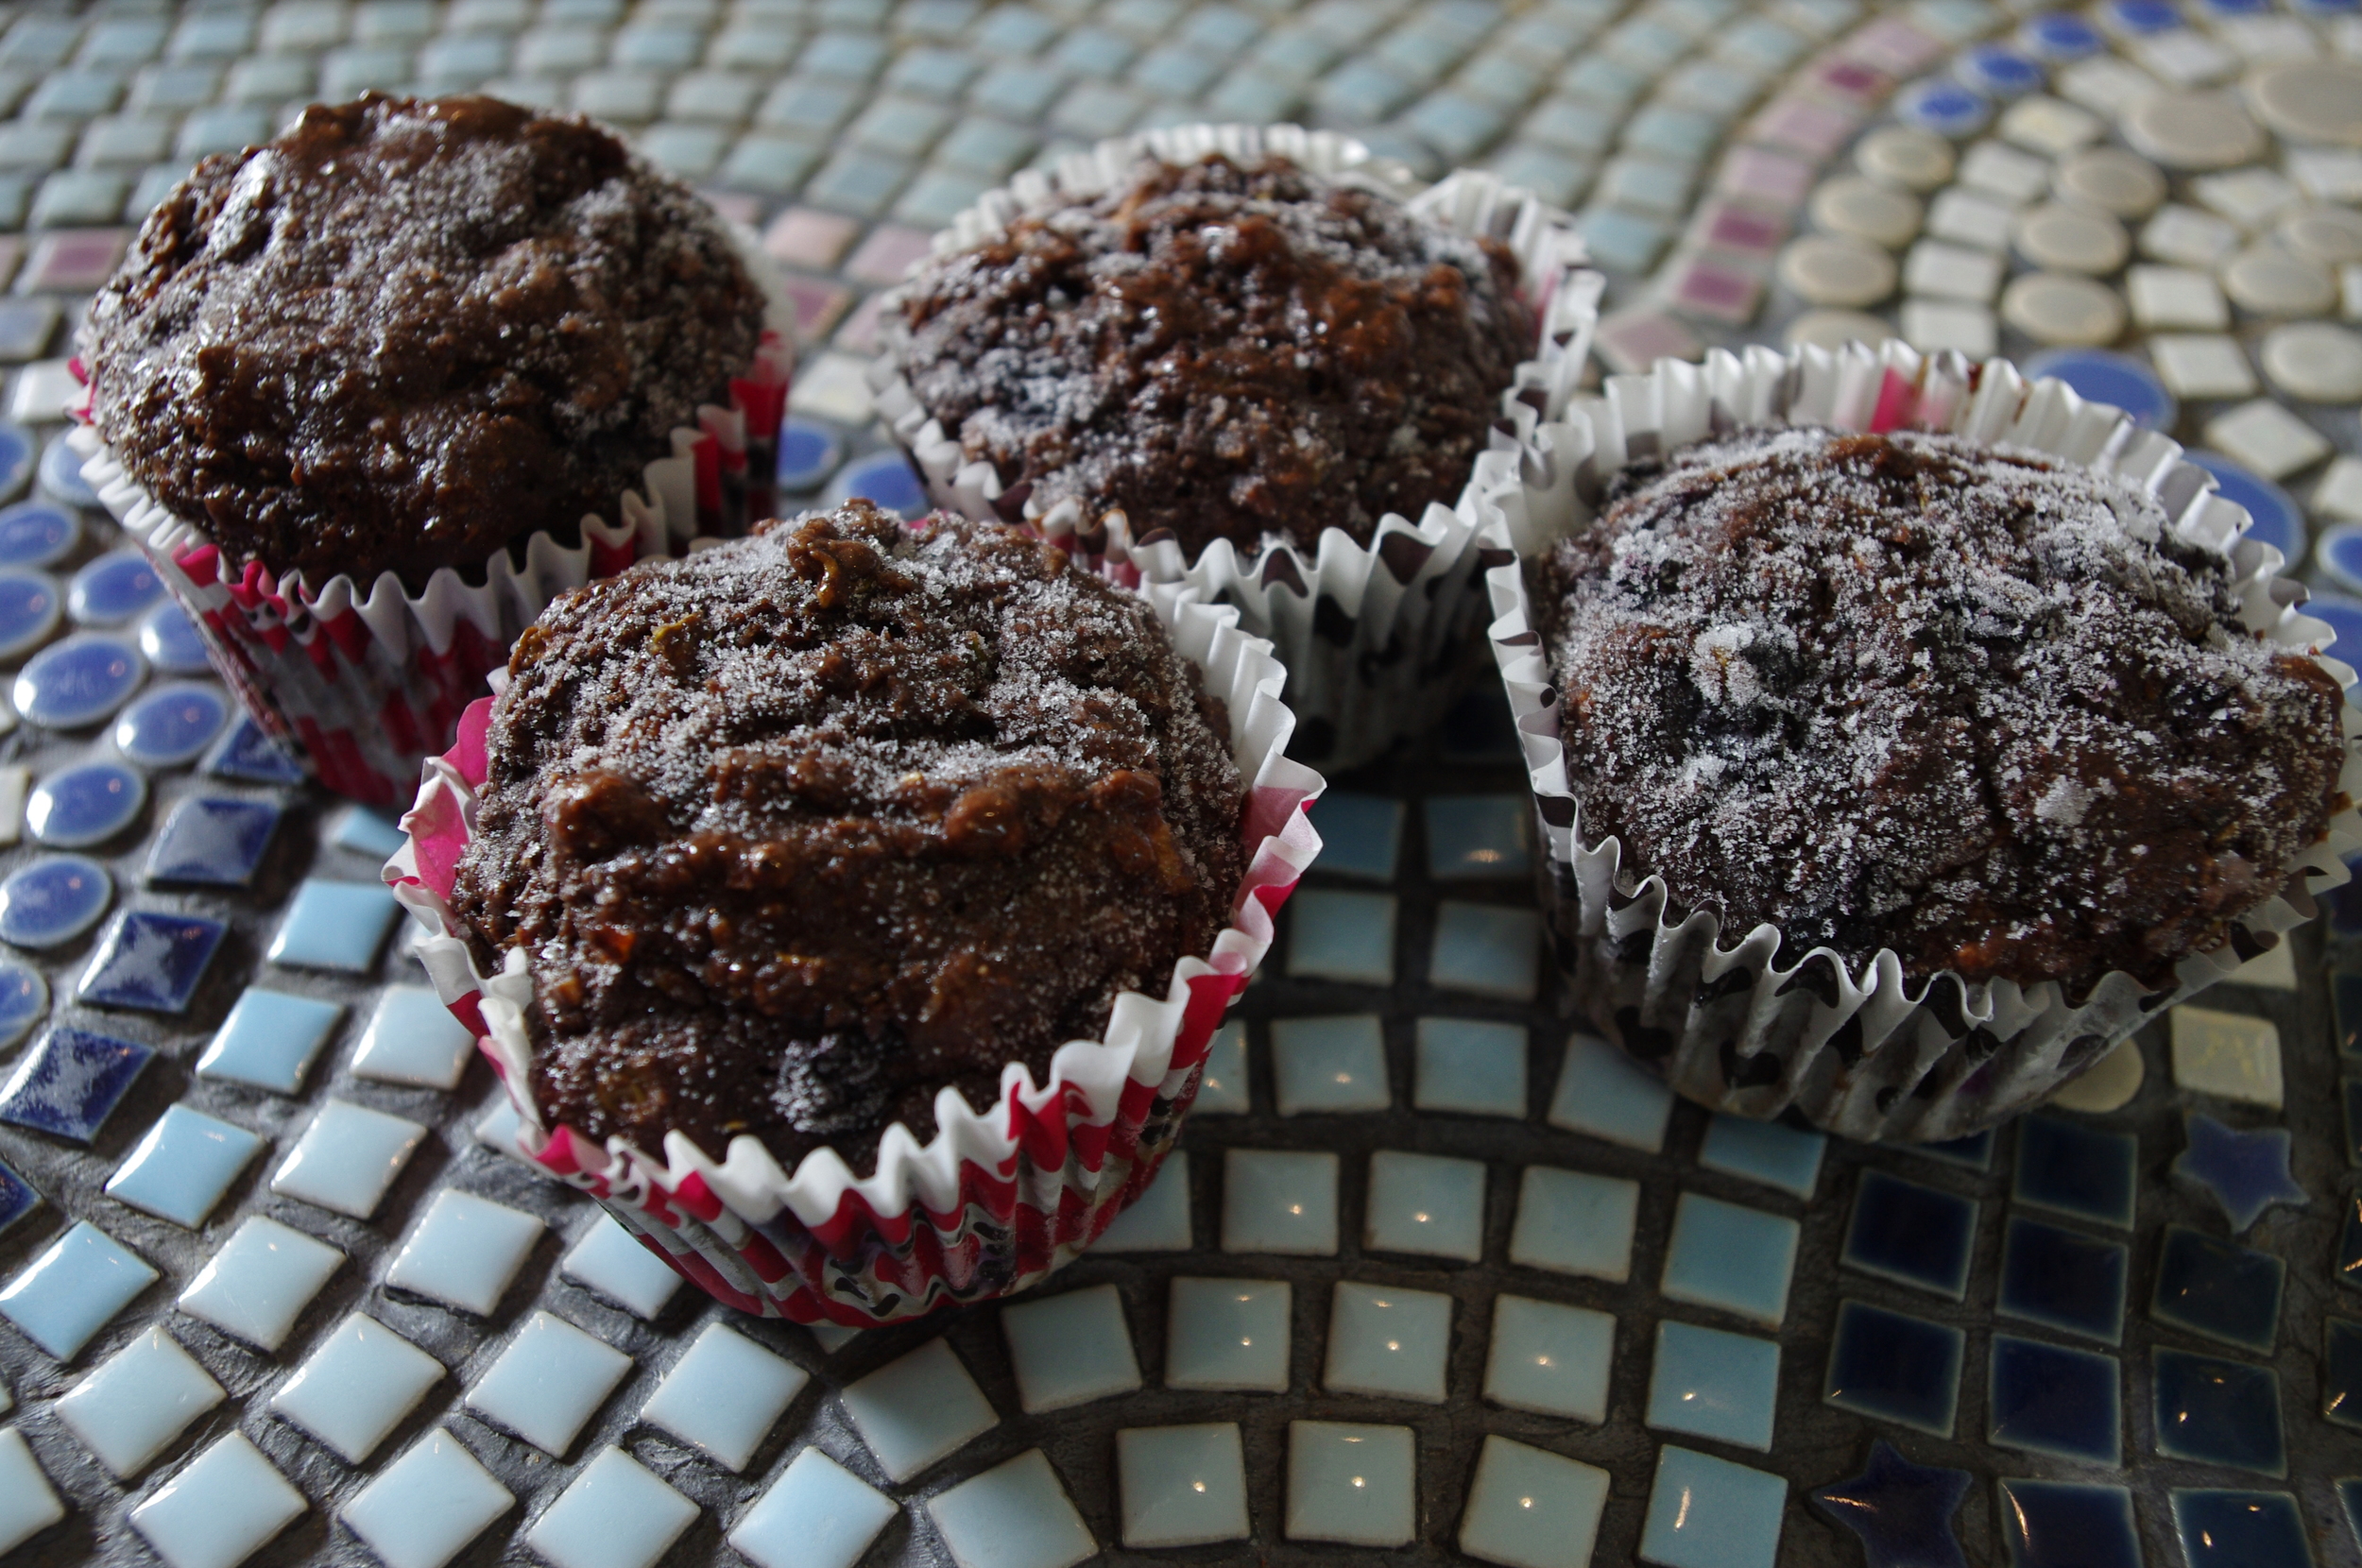
Try these two recipes as muffins (reduce cook time to 30-40 minutes). They can be frozen and used as a nutritious, quick addition to school lunches.

Lemon Basil Zucchini Bread

Chocolate Blueberry Zucchini Bread