These fall beauties are not to be relegated to the tabletop as decorations. They are meant to be peeled, chopped, roasted, steamed, or pureed. Though they are not related, imagine them as large carrots or beets with thick skins, if you will. Members of the winter squash family are delicious, naturally sweet, and full of dietary fiber, vitamins and minerals. If picked fresh from a green vine they would have a high starch content and less flavor. Properly "cured" winter squash is left in the field until the vines have died, the stems have dried and hardened, and the squash skins have thickened. The curing process continues after the harvest by leaving them in a dry window or counter top long enough to develop thicker, darker colored skins. In this process the starches convert to sugars and the flavors become complex. Though the naturally thick, waxy skins are sometimes difficult to remove, they serve to preserve the squash for months on end. If stored in a well-ventilated, dry place, and protected from getting cracks and bruises, they will continue to be delicious throughout the winter. Cool, but not cold storage is required, so feel free to decorate your kitchen while you are saving extras for the winter months. Click here for more information about the curing process.
Some winter squash have thinner, more edible skins. Delicata squash, for example, does not generally last as long as a butternut squash or pumpkin, but the skins are lovely and soft when cooked. Although natural sugars are a highlight to winter squash, they are perfect additions to a variety of both sweet and savory dishes.
There are many ways to prepare winter squash for recipes, and how you choose to prepare them may depend on the variety or the recipe. Before you begin, a couple of helpful kitchen tools to have are: 1) A sharp, good sized cooks knife or santoku knife. 2) A non-slip cutting board.
Squash Puree: Three Ways (commonly used for muffins, cakes, pies, custards, etc.)
Baked (Best method for acorn or other deeply ridged squash):
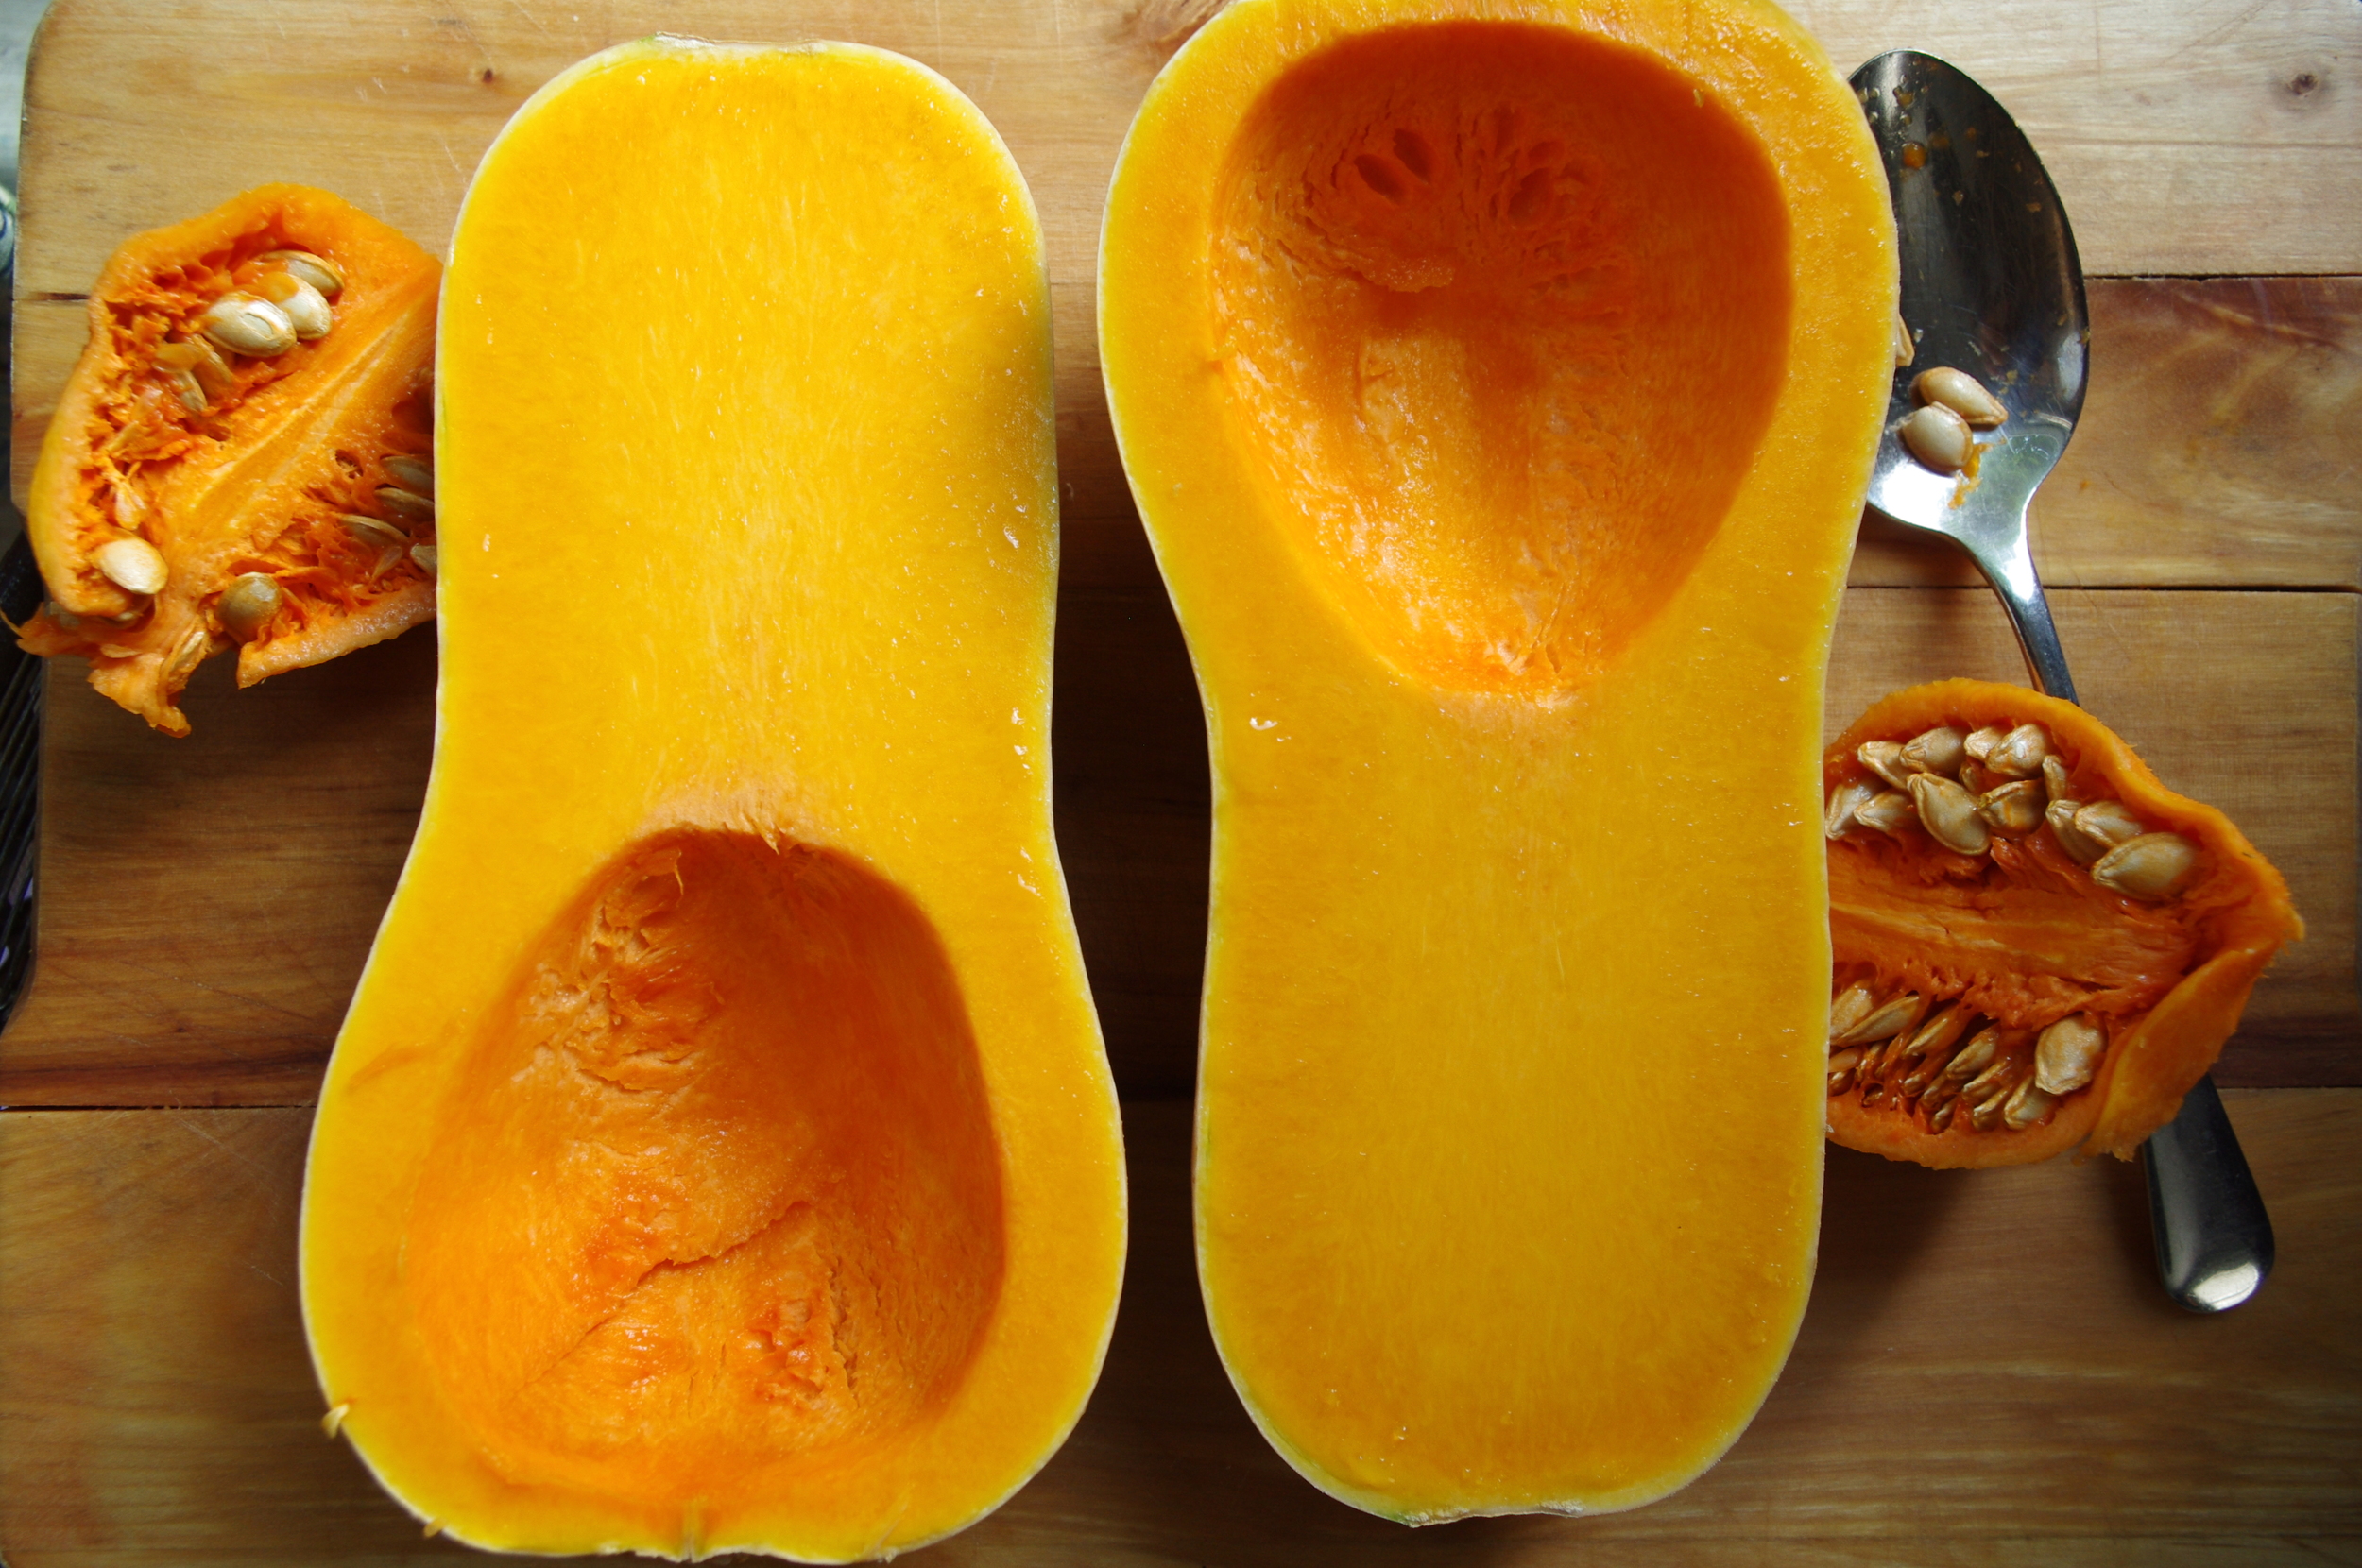
Cut squash in half lengthwise. Scoop out seeds with a spoon. Brush cut sides with a little oil and place cut side up or down (up to dry the squash more, down to caramelize the edges and have a more wet puree). Bake at 400 degrees for 45 to 90 minutes or until the squash begins to shrivel and is soft when the fork is inserted. Remove from the oven and let cool. Scoop out the squash, or pull the blistered skin away from the pulp. Discard the skin. Place the squash in a blender and puree to the desired texture.
Steamed:
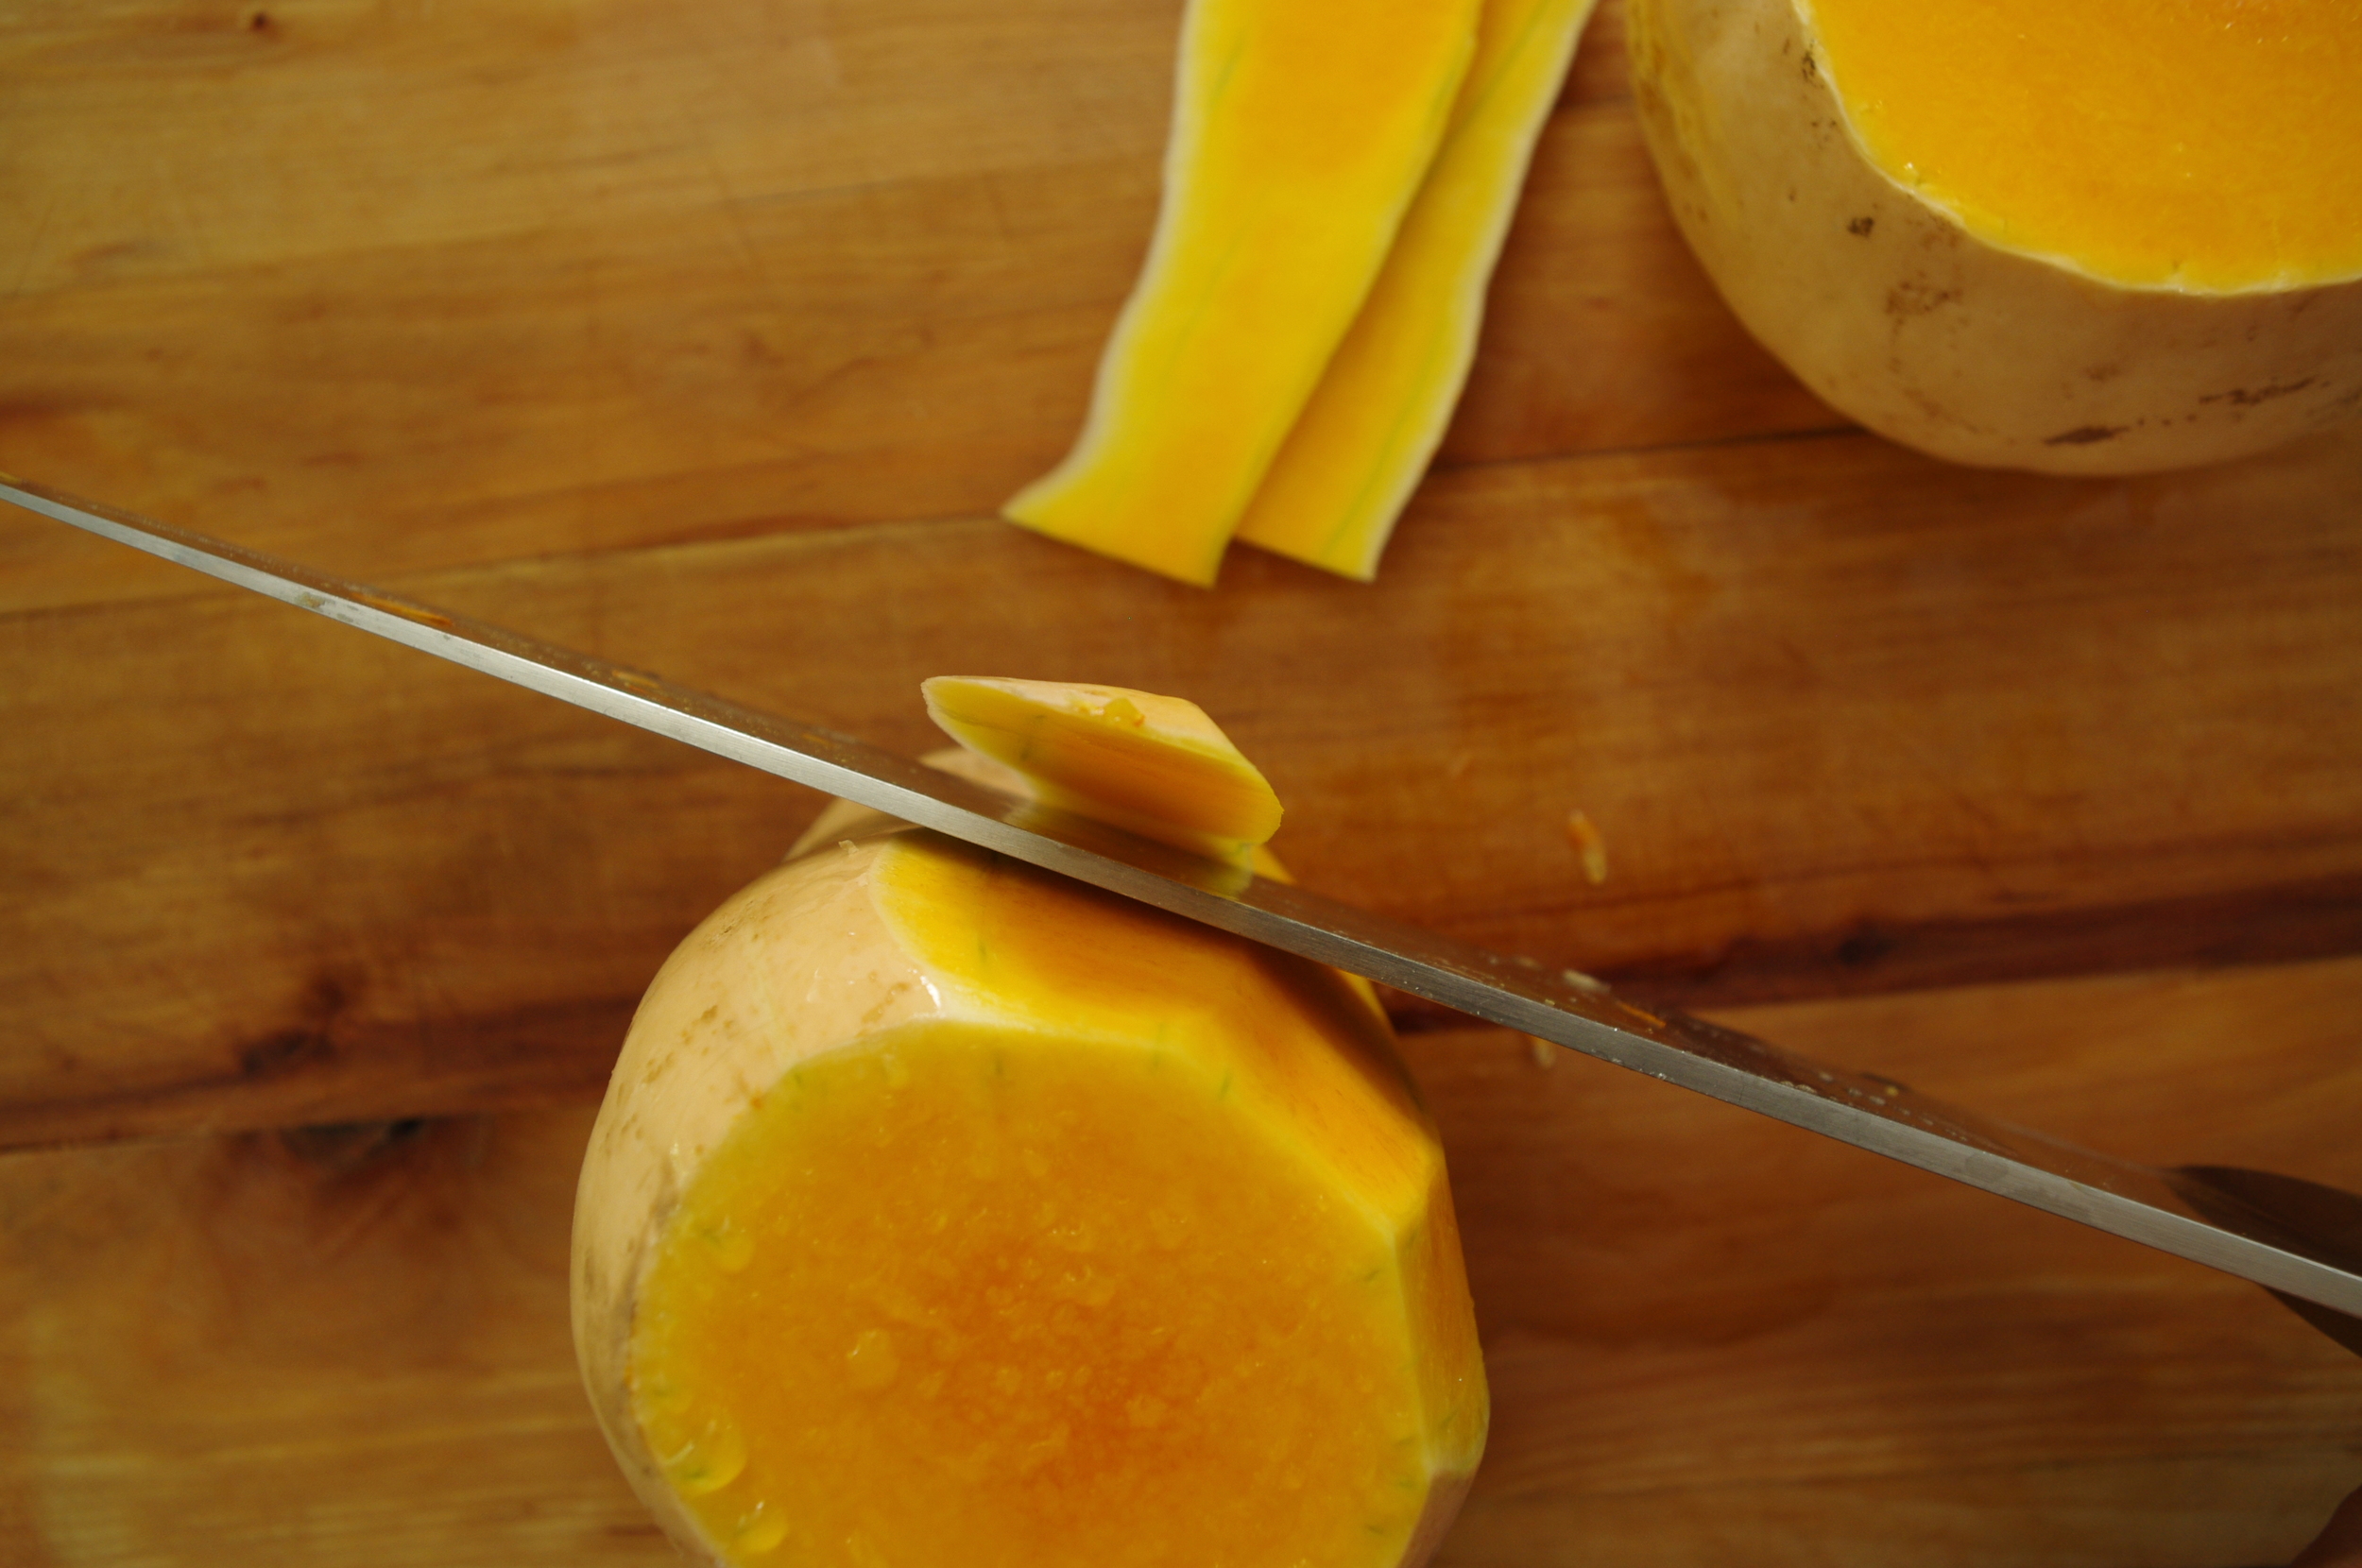
Cut ends off the squash, then cut in half crosswise.
With the widest cut side down, remove the skins by carefully slicing from top to bottom, working your way around the sides. When the skins are removed, scoop out the seeds and discard.
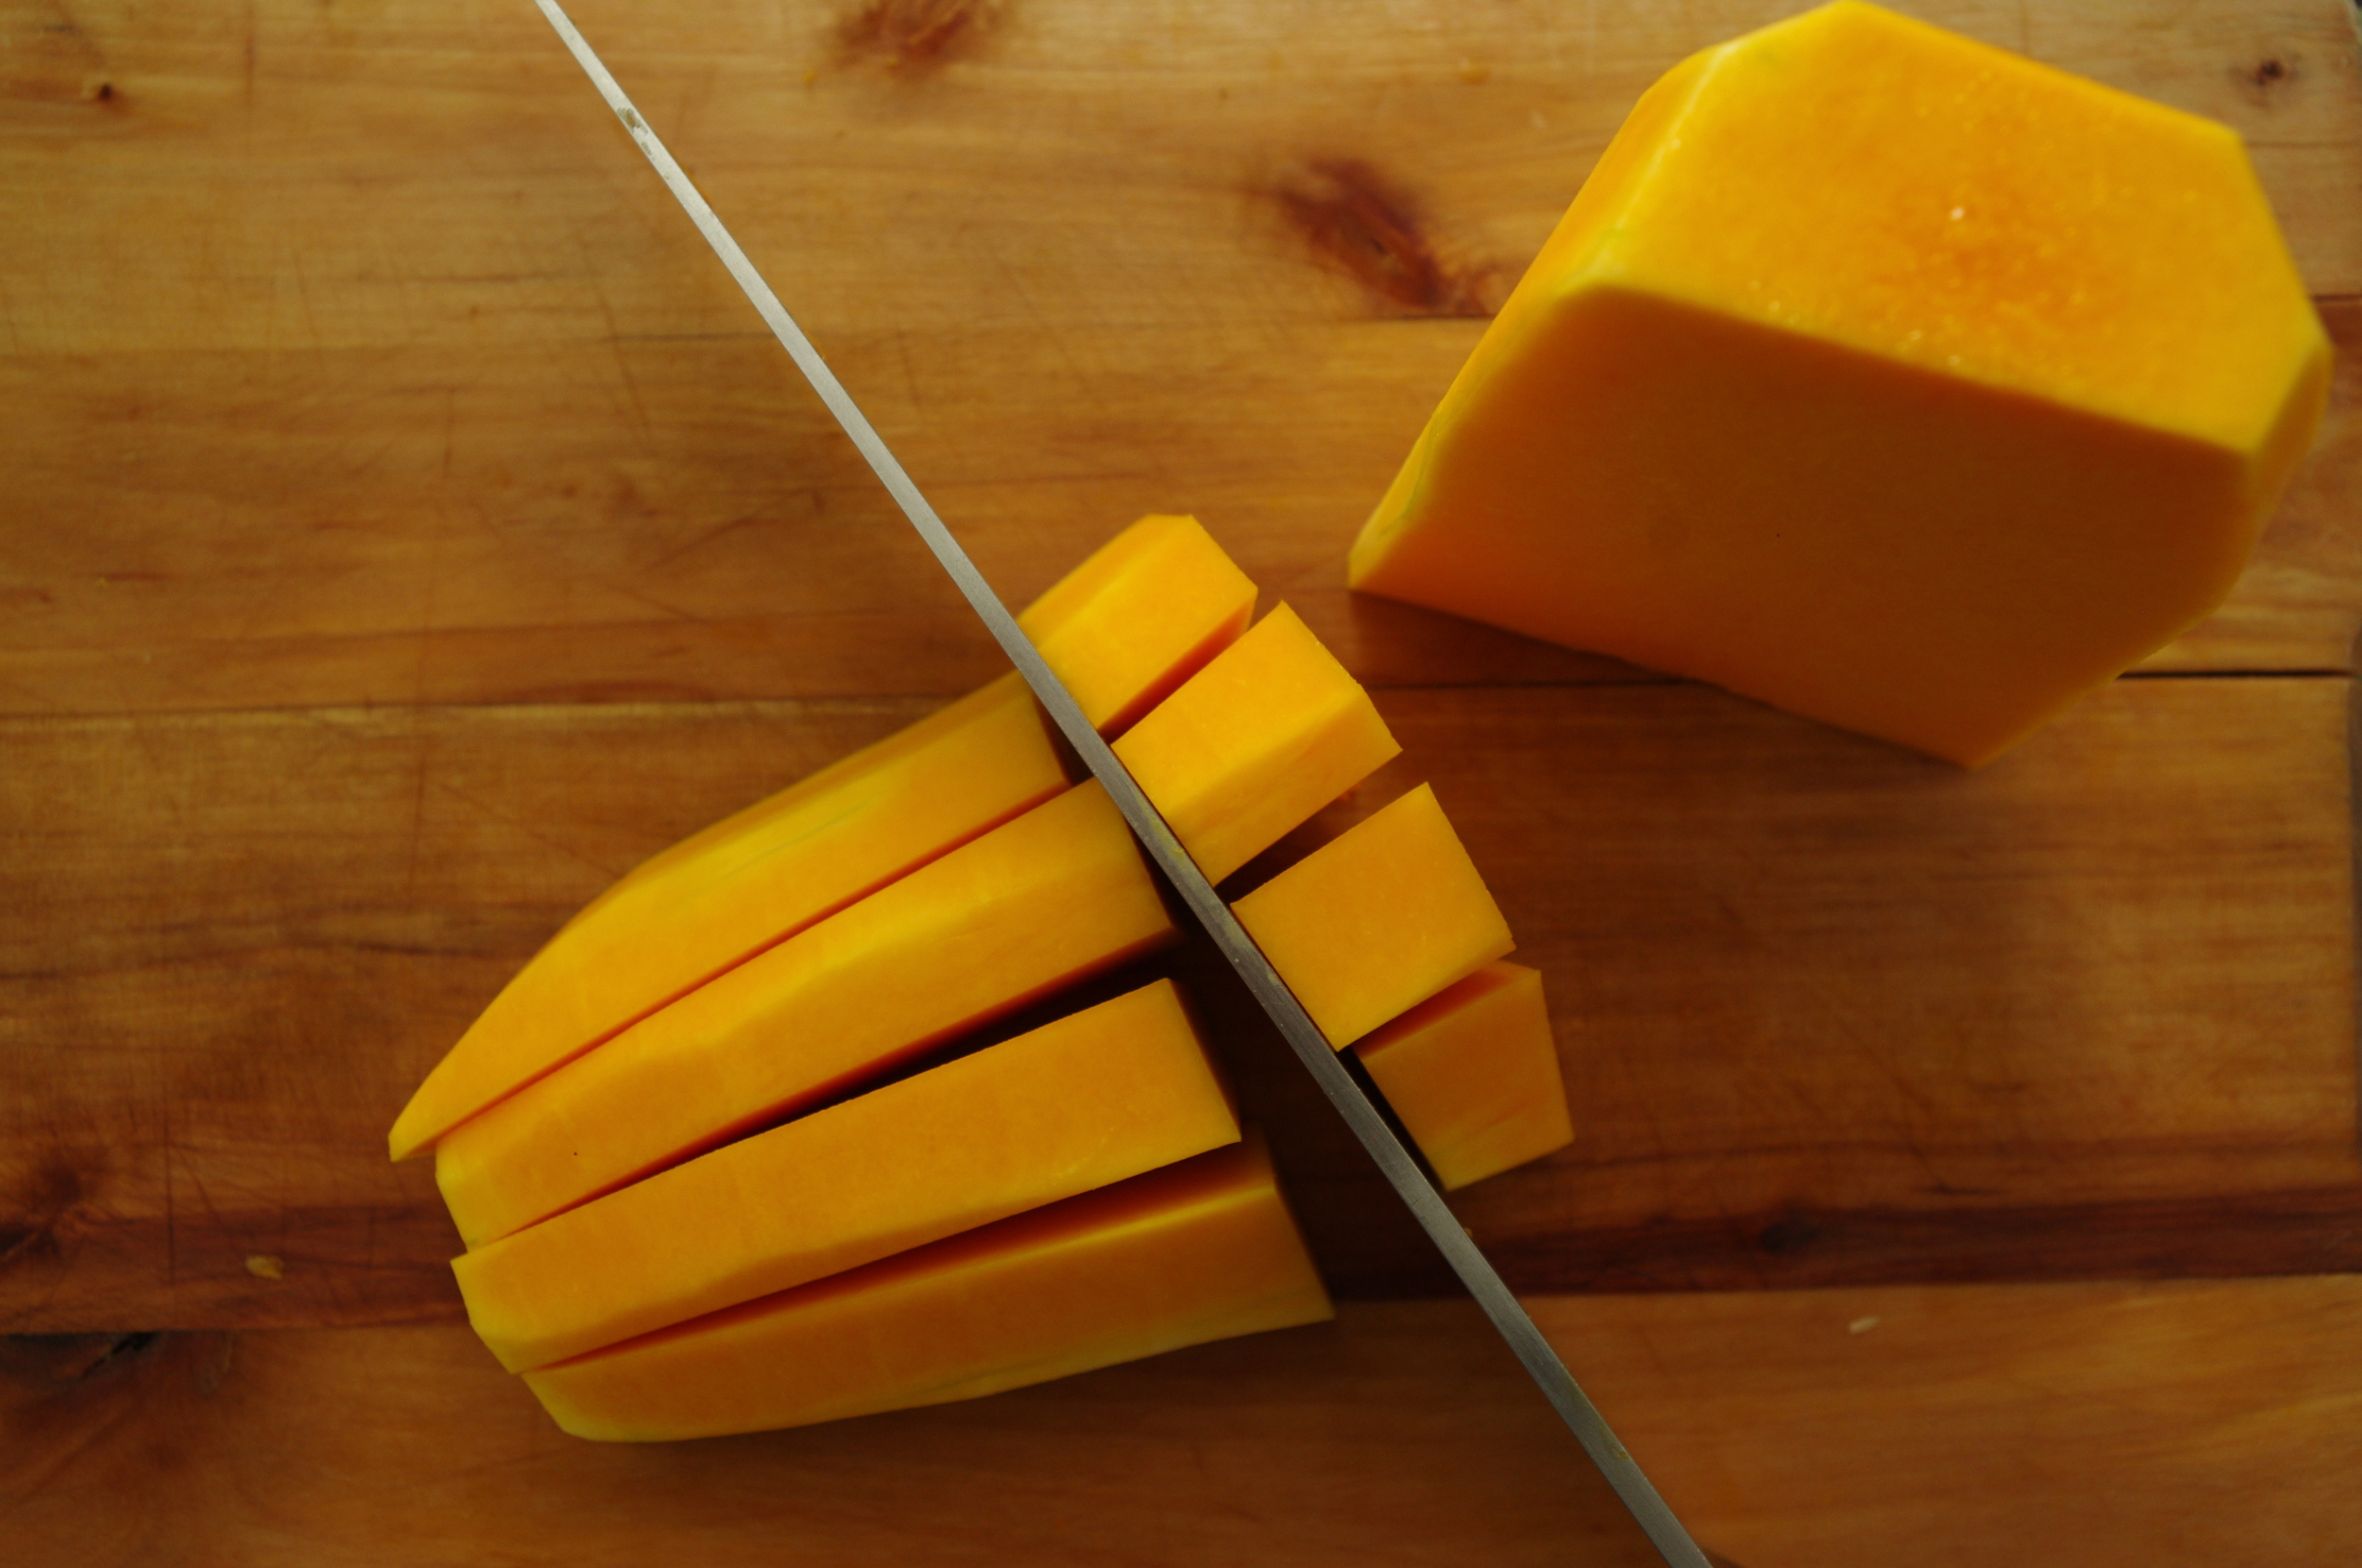
Cut the squash into 1/2 inch cubes.
Place the squash in a steamer basket inside a large sauce pan. Put 1-2 cups of water in the bottom of the pan and cover with a lid. Turn heat to medium-high and steam until the cubes of squash are soft. Remove from heat and let cool. Puree with a blender to the desired texture.
Roasted:
Follow directions above for removing the squash skins. Cut into 1/2 inch cubes. Place on a baking tray or large casserole dish and coat with a little oil. Sprinkle a little kosher salt and dried spices on the squash and bake in the oven at 400 degrees for about 1 hour, or until the edges turn dark brown and caramelize a bit. This method will produce the driest result, but the most flavor. From here you can mash, puree in a blender, or simmer in another liquid like milk, juice or broth to re-hydrate before turning into a puree. Caramelizing the squash adds richness and concentrated sweetness, allowing you to reduce any added sugars (if any) to your recipes.
Now that you have your squash puree, here are a few tasty winter squash recipes for you to try:
Moroccan Spiced Red Lentil Soup
Ann Keener's Butternut Squash Galettes
Coconut Butternut Squash Pie
Roasted Butternut Squash Baked Custard
Butternut Squash Buttermilk Waffles


