Fresh Tomato Marinara

Oriels-Marinara-1.jpg
Photo courtesy of CSA member Oriel Wiggins

If you have never made your own spaghetti sauce, you are in for a sweet surprise.  This is so easy and amazingly delicious.  Also, if you are looking for a recipe for canning a case of beefsteak tomatoes, this is perfect.  Marinara is a simple tomato sauce used in Italian cooking.  Roma tomatoes are traditionally used because they have a stronger flavor and less water, but any good tomato will do. The most time-consuming part is removing the skins from the tomatoes.  If you leave the skins on, however, the flavor is great and the skins add more nutrients, texture and color.  So if you have less time to process the tomatoes, don't worry about doing that step. Make sure you do have time to let the sauce simmer for a while, however.  The key to a good marinara is to cook it low and slow.  With low-temperature cooking for a long period of time, the water and acids in the tomatoes reduce, while the rich flavor and natural sweetness intensifies.

Ingredients:
10-12 large beefsteak tomatoes (or whatever you have on hand) -about 6-10 lbs of tomatoes.
Sweet or hot roasted red peppers (optional)
6 cloves of garlic, minced
1 medium onion, diced
1 cup dry red wine
3 bay leaves
Sea salt
Pepper
2-4 Tbs olive oil
Fresh basil, chopped

Method:
If you want to remove the skins of the tomatoes, cut an X into the bottom of the tomatoes.  Place a few at a time in a pot of boiling water for about 30 seconds, or until the skins begin to crack.  Remove from the boiling water and immediately immerse in a bowl of ice water until cold.  The skins should slip away easily.  Remove the stems and quarter or chop the tomatoes.  If you are using red peppers and would like to remove the skins, click here for detailed instructions on how to remove them easily.

Place diced onion, minced garlic and the olive oil in a large, heavy bottomed stock pot.  Saute on medium heat until they begin to soften, but be careful not to scorch the garlic.  Add the chopped tomatoes, peppers (if desired), wine, bay leaves, 2 tbs chopped fresh basil, and 1 tsp of sea salt and pepper.  Reduce heat to low and simmer with a lid for several hours. Stir occasionally. After one hour, if there is a lot of liquid, you can tip the lid to vent some of the steam and allow the moisture to reduce.  If you have any roasted red peppers and tomatoes in the freezer, you can puree them in a blender and add them to the sauce to thicken the consistency a little.  This also adds richness to the flavor.  The time it takes to cook a homemade marinara really depends on how much time you have, and how fresh or sweet you like your sauce.  Taste periodically.  When it tastes perfectly done to you, add more chopped basil and remove from heat.  Cover and let stand for 15 to 20 minutes.  If you want a smooth, or more evenly textured sauce, you can use an immersion blender and pulse to the desired texture.

When the sauce is done, the possibilities are endless.  Use as a pizza sauce, over pasta, baked spaghetti squash, eggplant, or ground meats...and those are just the basics.  Marinara is a fantastic all-purpose sauce that is great for canning and freezing for quick meals.


Squash Fritter Pizzas

IMGP5874.jpg

First of all, I have to thank CSA member Katie Pridemore for sharing her version of this recipe on the Signal Mountain Farm Facebook page.  Hers was the inspiration for this post and a link to her recipe is posted at the bottom half of this page. I played around with the idea of using a non-dairy version of a squash fritter for the crust, and after testing several cooking methods, was decidedly in favor of a pan-fried, individual sized "pizza."  The squash crust is delicious made with cheese, but if you are looking for a dairy free, or lower saturated fat base for your toppings, this one is perfect.  With the addition of lentils, the fritters become a filling meal all by themselves. Topping the crispy goodness with pesto, fresh mozzarella, marinated tomatoes and fresh basil make the whole combination positively sublime. This recipe makes about eight 7-inch pizza bases.

Squash fritter ingredients: 4 cups squash or zucchini, grated 1 cup dry red lentils 1/2 cup finely chopped onion 1/2 cup canola, olive or peanut oil 1 cup all-purpose flour 1 tsp baking powder 3 medium farm-fresh eggs Sea salt & black pepper to taste More oil for frying

Method: Grate the squash or zucchini or shred in a food processor.  Put the grated squash in a colander and salt well.  Let stand for at least one hour.  Meanwhile, place the dry lentils in a medium sized bowl with two to three cups of boiling water.  Cover and let stand for one hour, or until they have absorbed most of the water.  Once the lentils have soaked up most of the moisture, drain, then place in a blender or food processor and pulse until they are mostly ground up.

To wring the moisture out of the squash, you can use cheesecloth or several layers of strong paper towels.   If you use cheesecloth, there is a good illustrative photograph on the Smitten Kitchen post for zucchini fritters. I used two layers of Viva paper towels (about 2 1/2 feet long).  Spread the squash evenly over the length of the paper towels, then begin rolling from one end.  While holding the rolled bundle of squash and paper towels (or cheesecloth) over the sink, gently squeeze until most of the moisture is extracted.  When you unroll the bundle, most of the squash should clump together and separate easily from the paper towel.  Place the squash in a large bowl with the chopped onion, ground lentils, oil, flour, baking powder, eggs, salt and pepper. Mix the ingredients together.

Coat the bottom of a skillet with oil and heat the pan on medium to medium-high heat. The batter can be fried by the spoonful for an appetizer or snack-sized fritter. To make a small pizza base, use 1/2 cup of batter.  After pouring into the heated skillet, press gently with a fork to spread it evenly to about 1/4 -1/2 inch thick.  Let cook until it gets crispy and browned, then flip quickly with a wide spatula. Let brown on the other side, then remove from the pan and place on paper towel to blot the oil.

Top the pizzas with your favorite toppings and place on a baking sheet or stone.  For a toaster oven, put it on the "toast" setting (425 degrees) or broil in a conventional oven.  Cook until the cheese is melted and the toppings are hot.

If you want to try the cheesy version of the crust without lentils, try Katie's Squash Pizza Crust, borrowed from Allrecipes.com (She topped the squash crust with sliced tomatoes, fresh mozzarella, fresh basil leaves and dried herbs.)

Optional toppings to prepare in advance: Marinated Tomatoes Pumpkin Seed Pesto Oven roasted peppers and tomatoes

Other topping ideas: Fresh mozzarella cheese, sliced Artichoke hearts Kalamata olives Fresh spinach


Grilled Squash "Slaw" with Marinated Heirloom Tomatoes

IMGP5768.jpg

Ingredients: 3 medium or 2 large zephyr squash 2 sweet peppers, any variety 1 yellow onion Oil Salt & pepper Fresh basil leaves, sliced (optional) 1 cup Marinated Tomatoes with liquid

Method: Slice peppers in half and remove seeds and stem.  Remove stems from the squash and slice in half lengthwise. Cut the onion in half.  Lightly brush the vegetables with oil and sprinkle with sea salt and pepper.  When your barbecue is very hot, place the vegetables on the grill cut side down.  Leave them there for 5-10 minutes, or until they begin to sweat and the cut sides have dark brown marks from the grill.  If you like softer veggies, you can turn them over and cook both sides.  When they are done, remove from the heat and let them rest until they are cool enough to handle.  Slice thinly or julienne the vegetables.  Add the sliced basil leaves (if desired) and more salt and pepper to taste.  Toss the vegetables with diced marinated tomatoes, adding some of the marinating liquid.  Serve warm or cold.

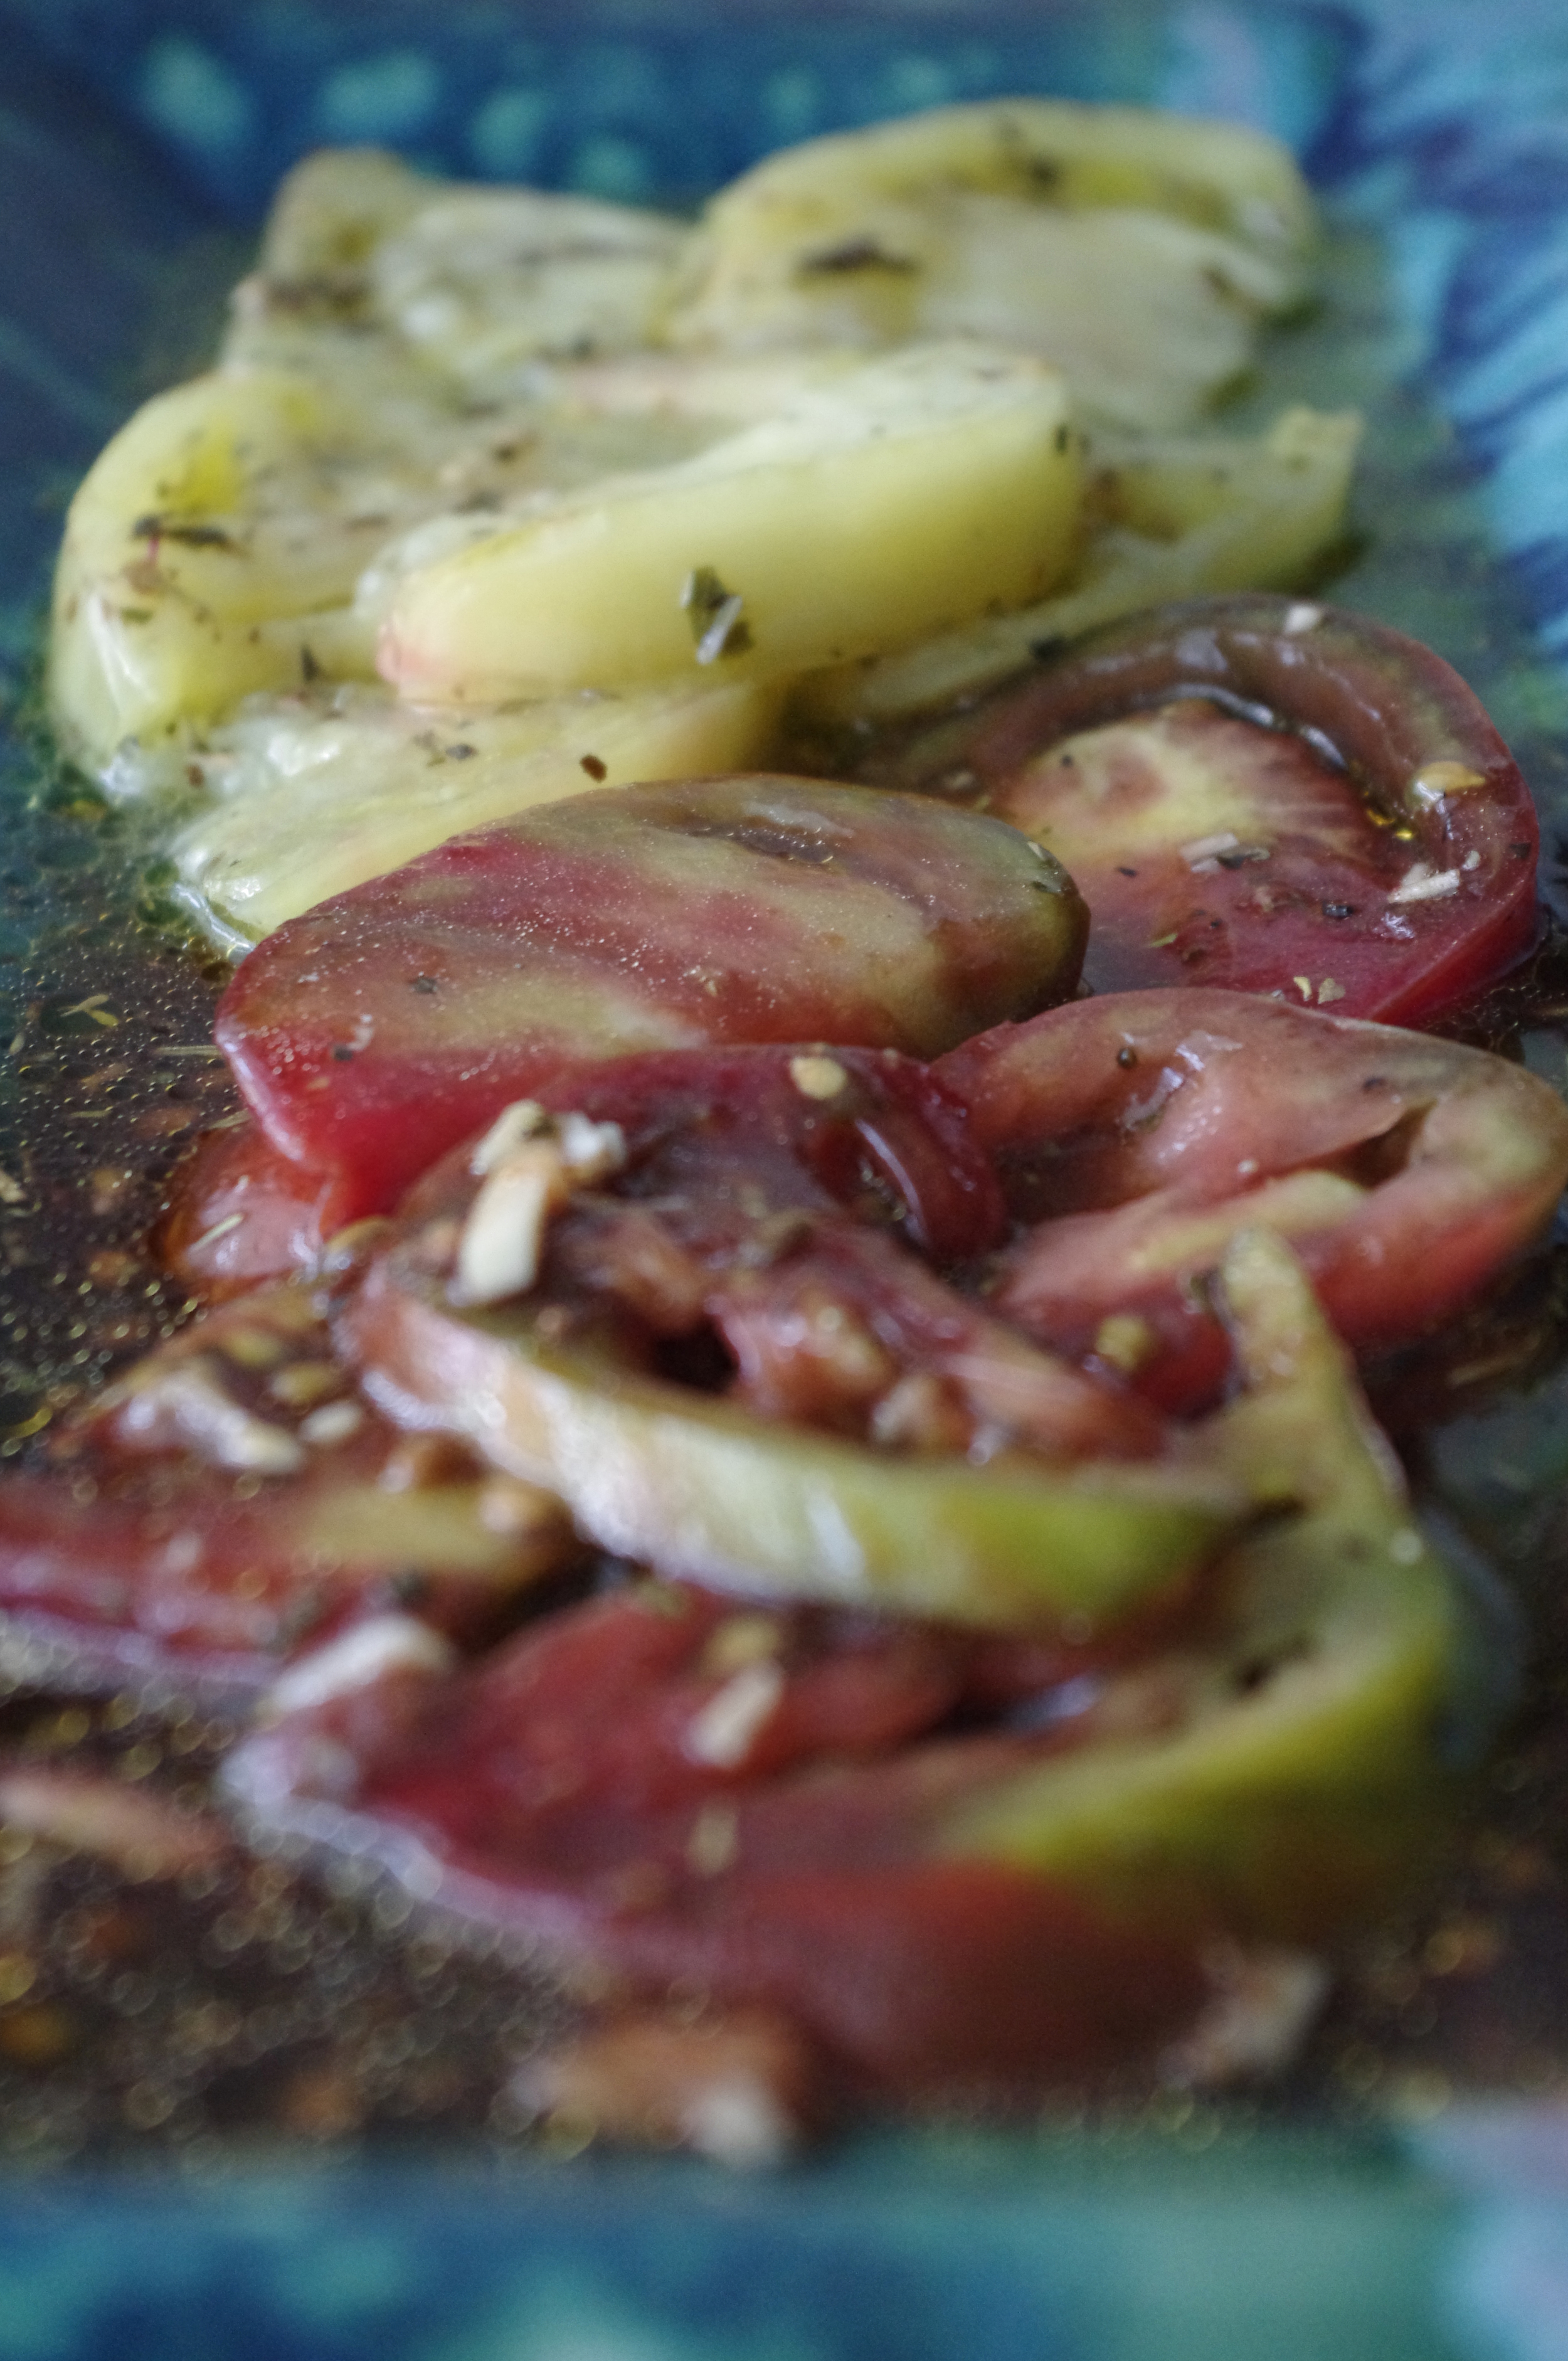
Marinated Tomatoes

IMGP5756.jpg
Marinated Heirloom Tomatoes

1 large heirloom tomato, or two medium tomatoes of any color 1/4 cup vinegar (balsamic or wine vinegar's are the best with this recipe) 1/4 cup olive oil 2 cloves of fresh garlic, sliced or minced 1/4-1/2 tsp sea salt 1 Tbs herbs de Provence Freshly ground black pepper

Slice or dice the tomatoes into a wide bowl.  Combine gently with the rest of the ingredients and refrigerate for at least two hours.  Can save in the refrigerator for up to two days, but the tomatoes will become softer and lose their form as more time passes.  These are fantastic on a sandwich or as a relish or salad dressing.

Roasted Tomatoes and Peppers

IMGP5727.jpg

This time of year we often have an abundance of beautiful tomatoes, sometimes more than we can fit into a week of tomato sandwiches and salads.  When we get close to the end of the week, my favorite way to preserve whatever is left is to roast in the oven and freeze.  Canning a large batch of tomatoes is a great way to preserve extras, but these roasted beauties have concentrated flavor that will turn any quick meal into something special.  Bruising and fungus can make them unusable for canning, but cutting away the bad spots and roasting is a great way to get the most out of your share.  The result is a delicious base for soups, sauces, meat dishes or a quick addition to any meal.

For lunch today we had pasta tossed with pesto, grated zucchini, carrots, spinach and roasted tomatoes.  It was fabulous and quick to make.  I highly recommend freezing extras in small portions so you can have them available for meals all year long.

Ingredients: 8-10 tomatoes or peppers Canola oil Sea salt Black pepper

Method: Wash and trim any blemishes from the peppers and tomatoes.  Make sure to smell as you are cutting away the blemishes to make sure you have cut deep enough. (You will want to remove any undesired flavors on the part you are keeping.)

Place the peppers and tomatoes in ovenproof dishes. You can keep them separate or mix them all together.  Drizzle with canola oil, and sprinkle sea salt generously over the tops.  Finish with freshly ground black pepper and place in the top or middle of the oven, set at 350-375 degrees.  Doneness is a matter of preference, but I like to leave mine until the moisture released by the tomatoes has reduced by about 2/3rd and the tips are brown. The longer they cook, the more concentrated the flavors will be.  Let cool completely before freezing.