Fire Roasted Peppers

IMGP9839.jpg

Roasted sweet peppers are a commonly found for sale in jars or cans for about $6/16oz.  Organic roasted peppers can be even more expensive.  Making your own fire-roasted peppers, however, is exceedingly easy and inexpensive.  Preserving is easy by canning them in jars with water and citric acid, or just pack them in freezer-proof containers and freeze portions for the winter. I used a hot barbecue grill for this recipe, but you can hold them over an open flame on your gas range, or on a baking sheet under a broiler.  The main point is to use high heat to blacken and blister the skins of the peppers.  This flavors the meat of the peppers, while also allowing the skins to separate easily for removal.

Here's how:

Heat grill to a high heat (about 550 degrees) Place red, yellow, or orange sweet peppers on the grill, turning to blacken all sides.

IMGP9824

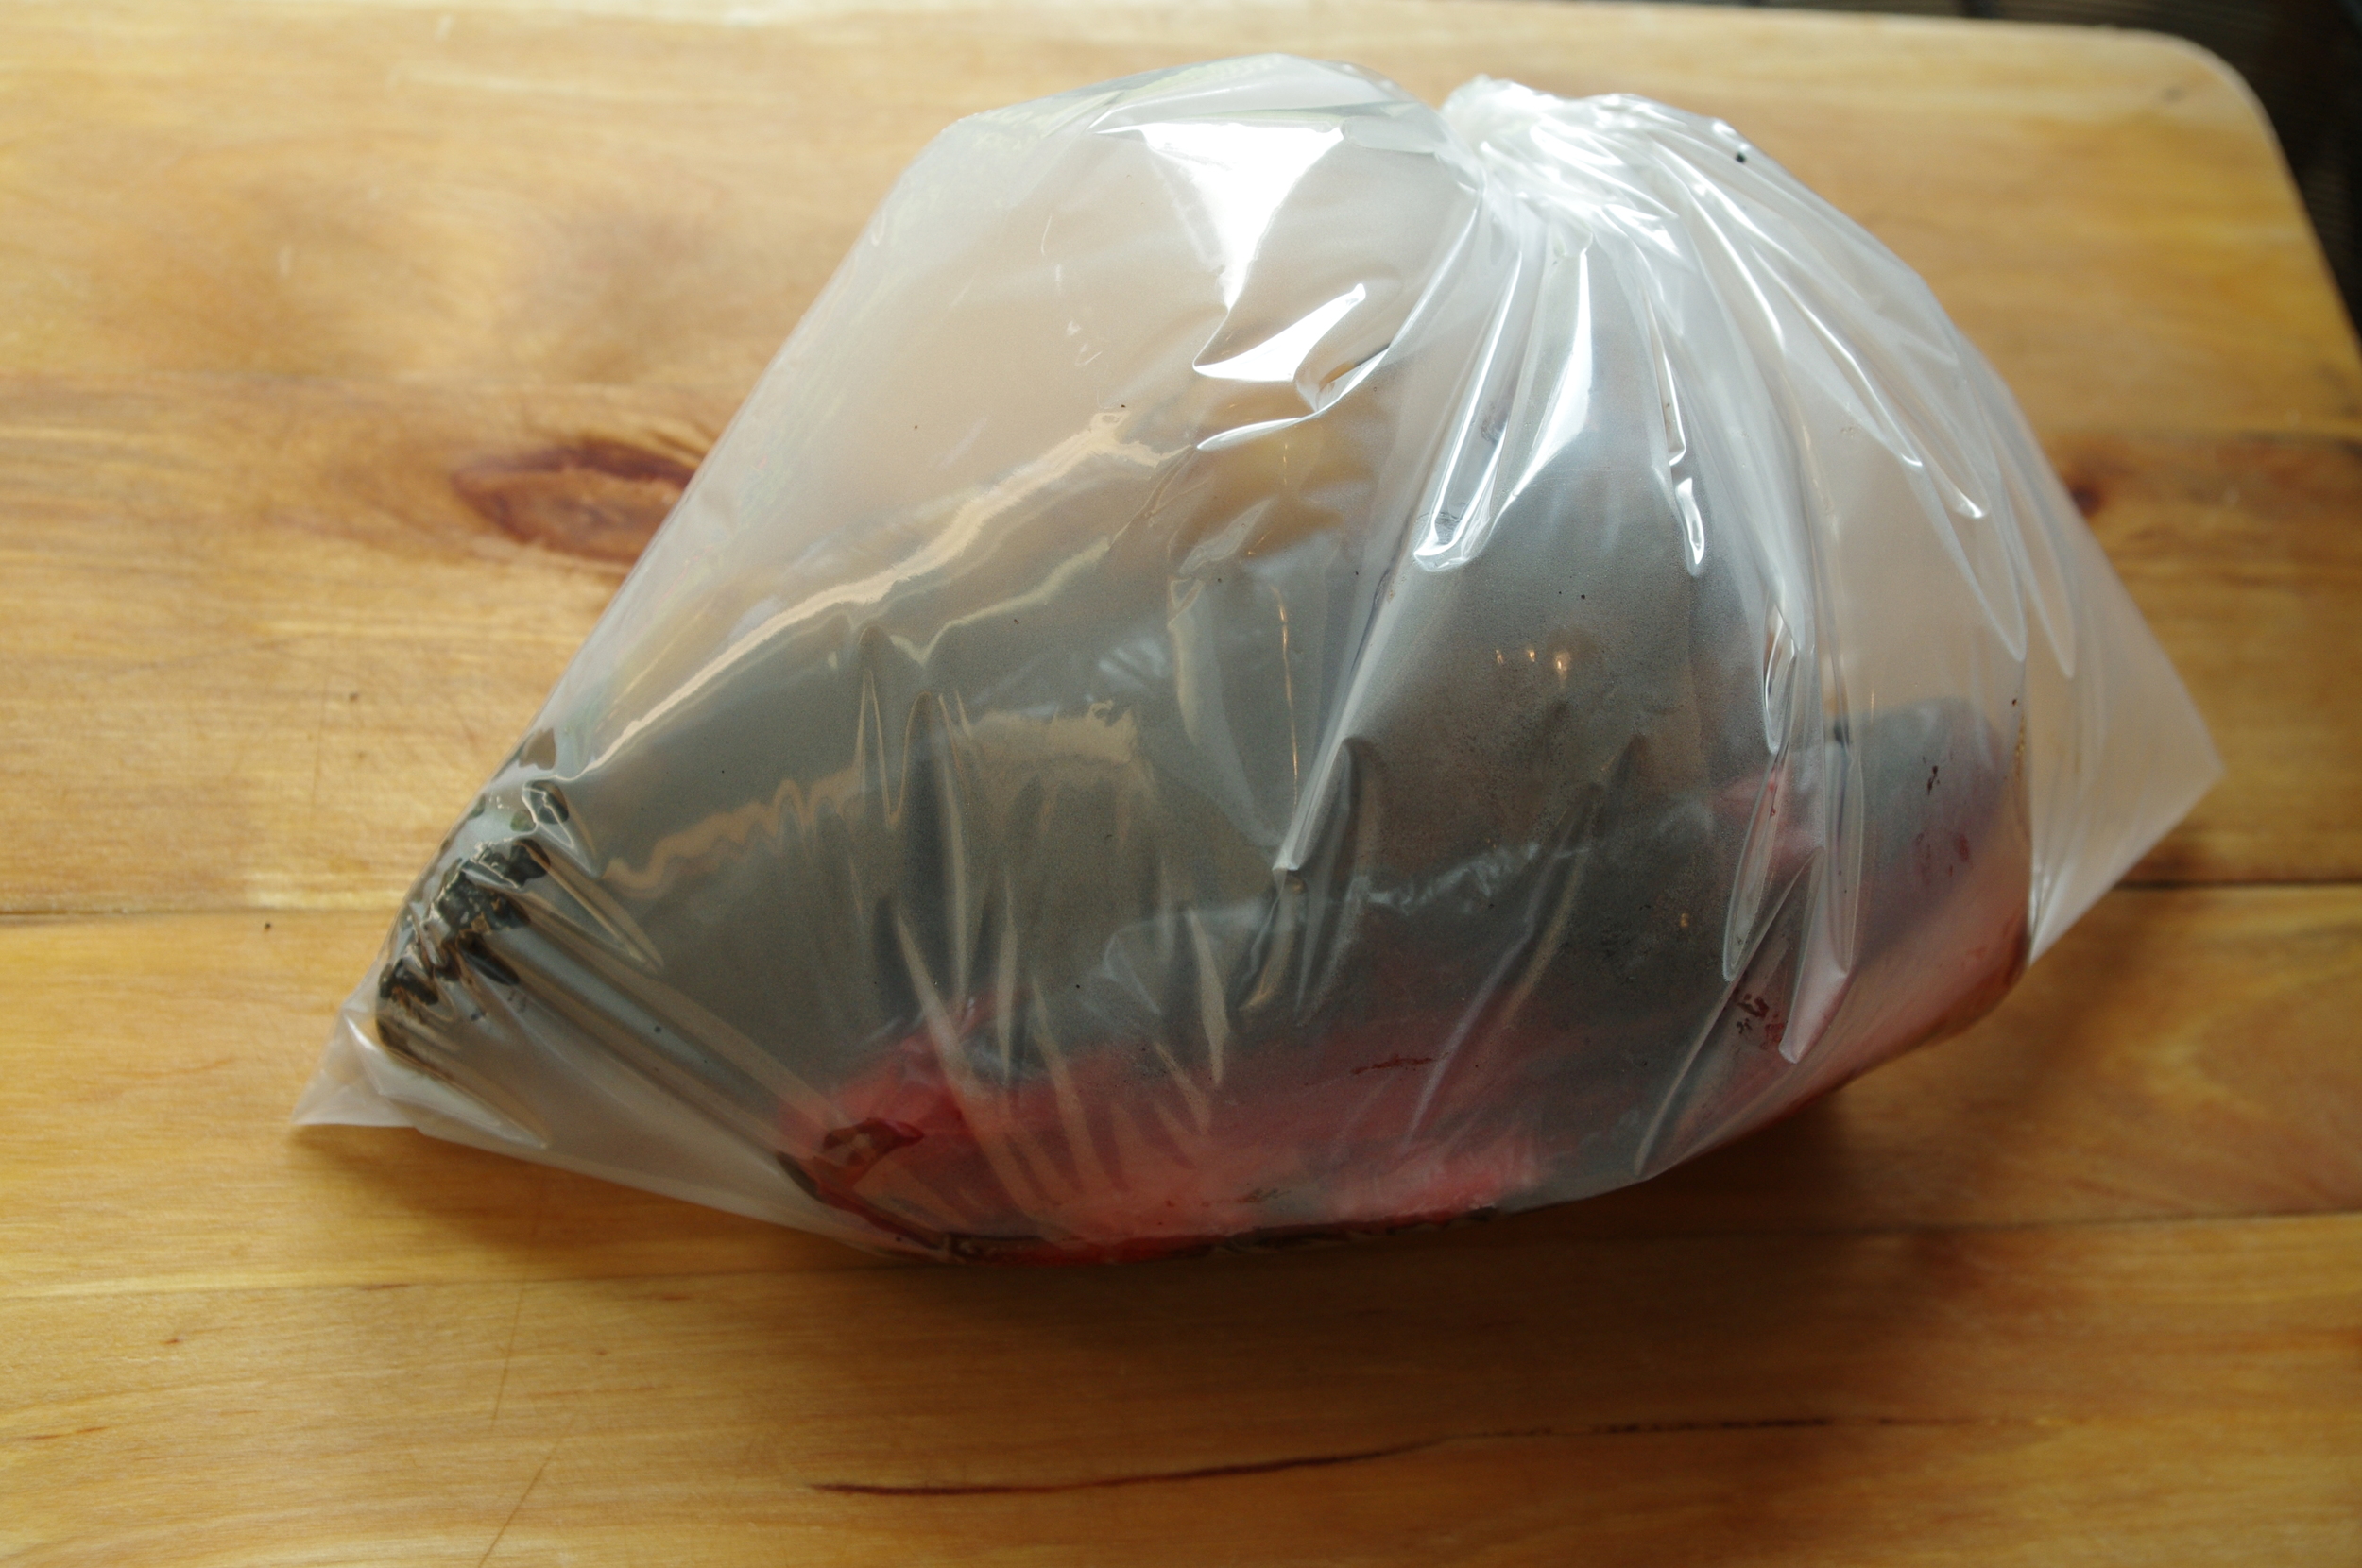
Remove from heat and immediately place the peppers in a plastic or paper bag. Alternately you can put them in a bowl with a lid.  Allow the peppers to steam for a few minutes, or until they are cool enough to handle.

IMGP9829

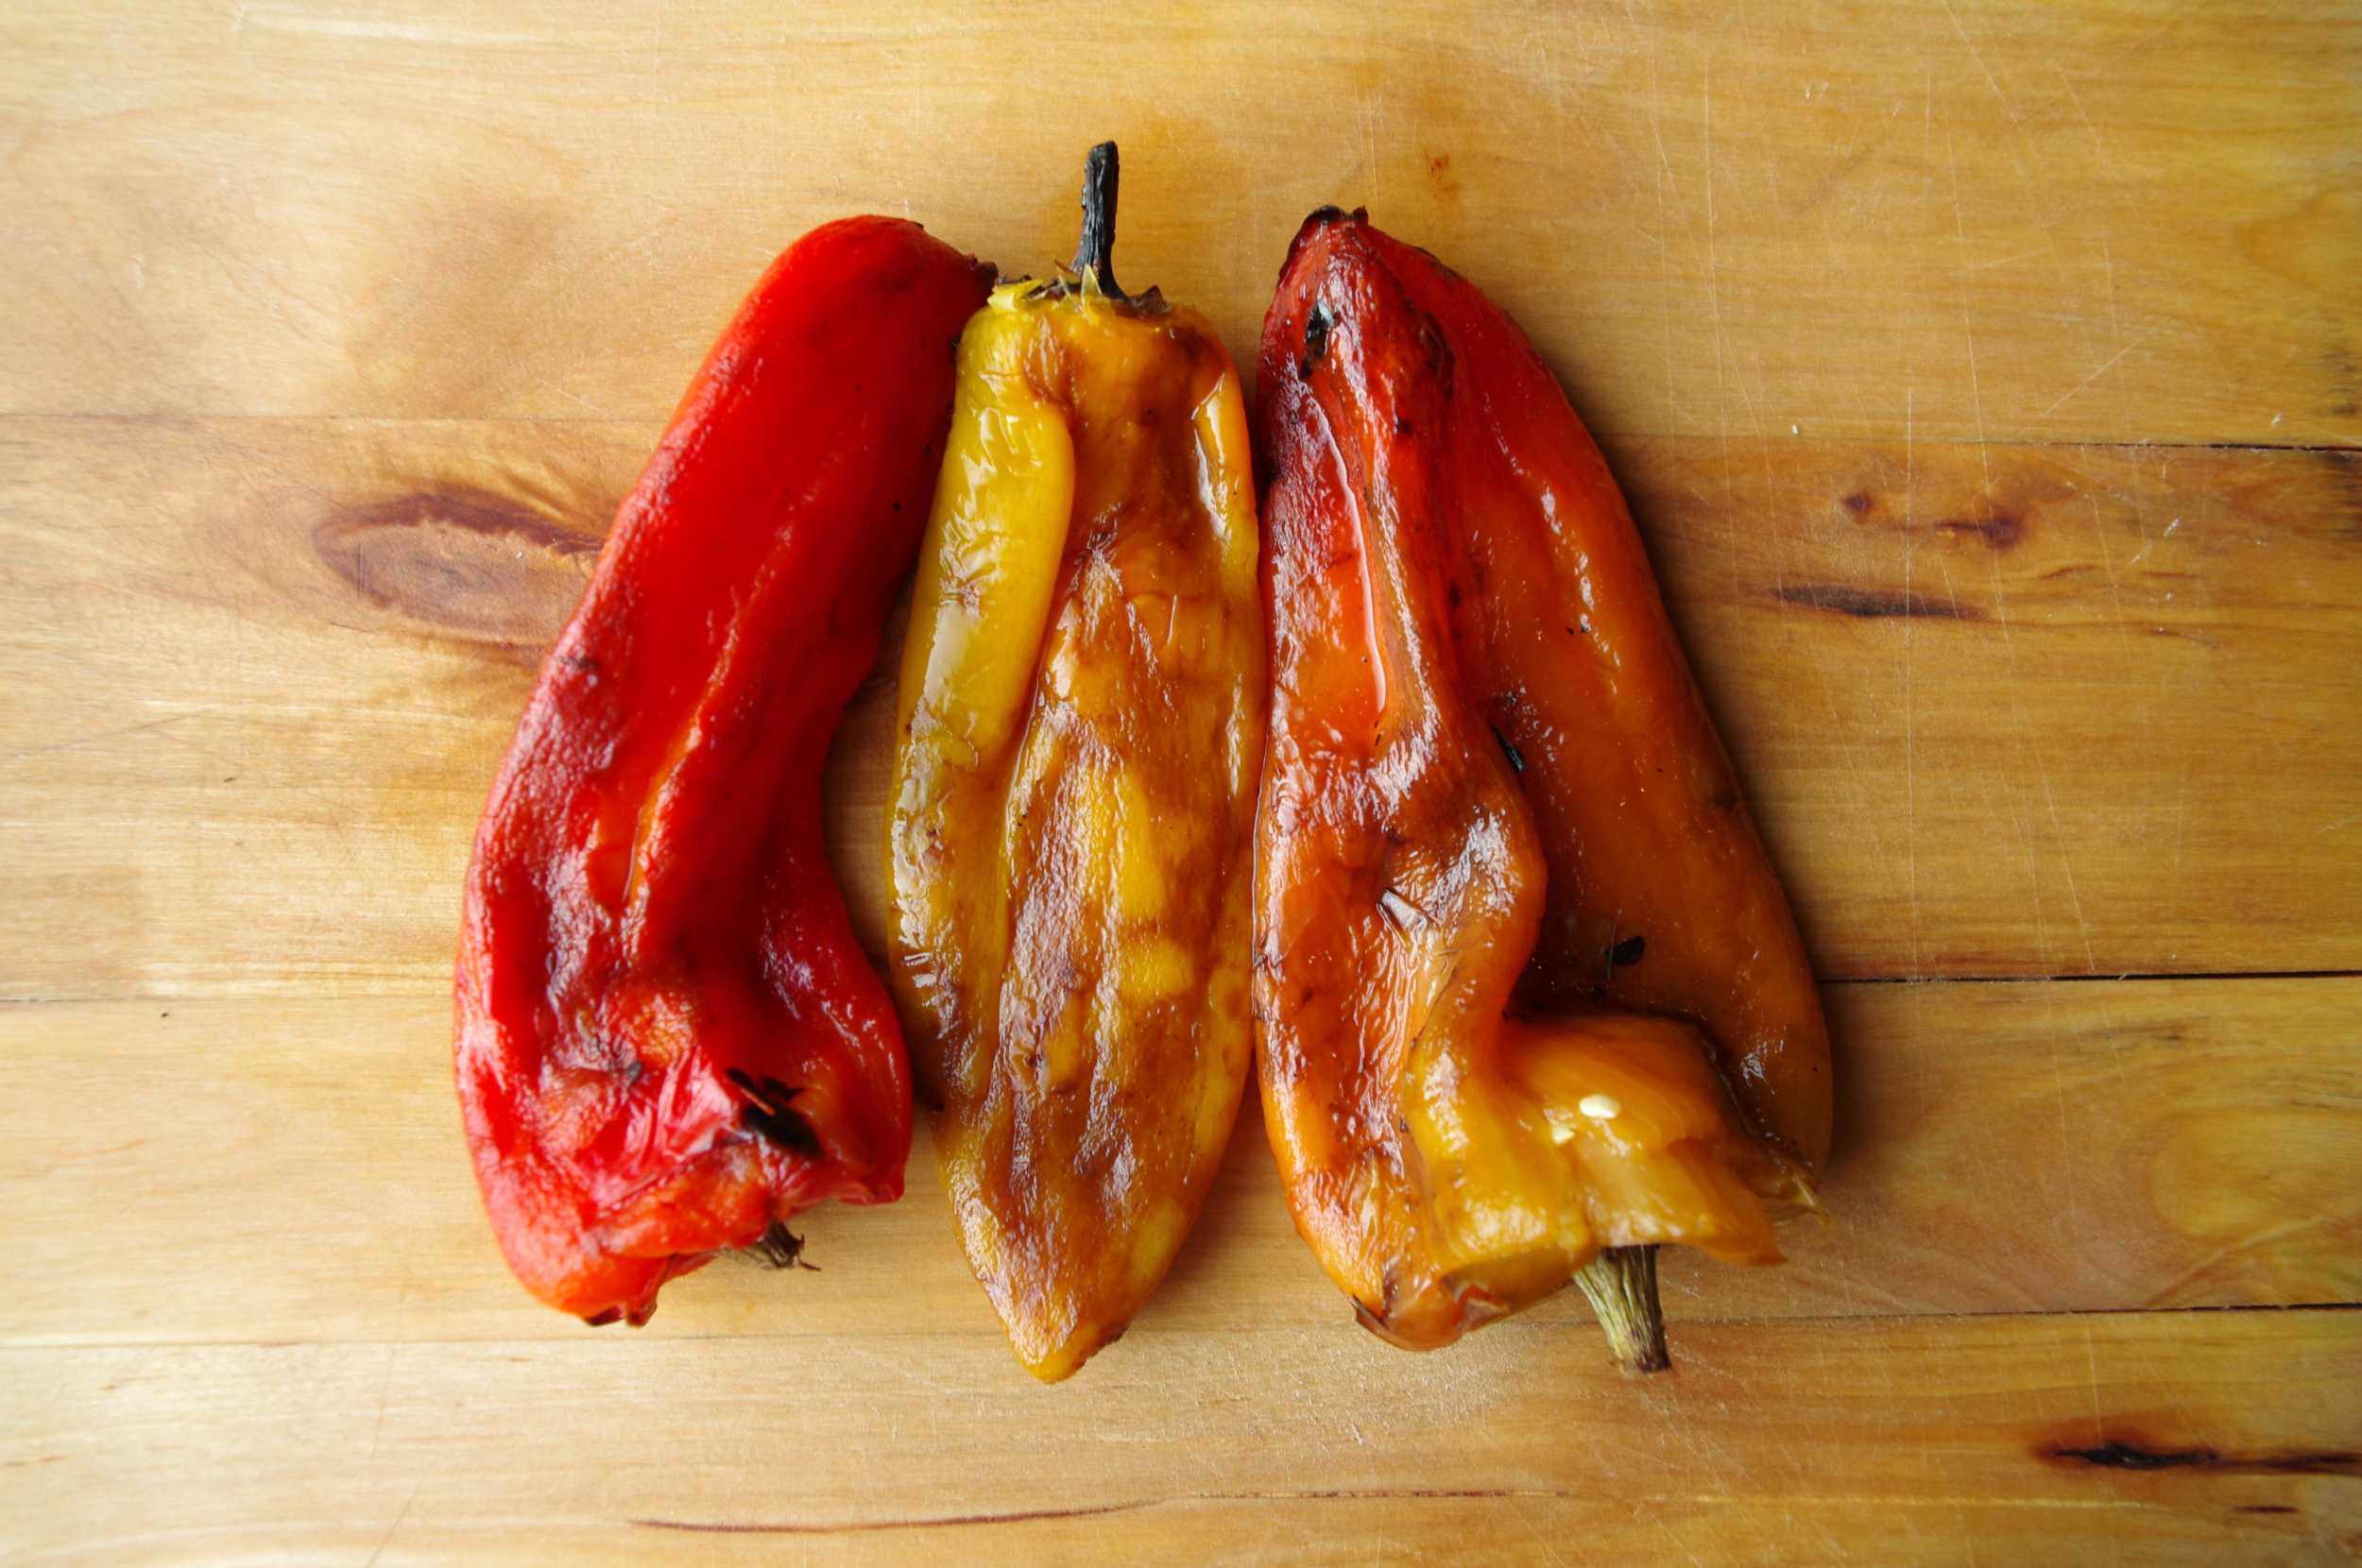
When the peppers are cool enough to handle, gently rub the skins away from the peppers and discard.  Remove seeds and stems as desired.  Use in recipes, or freeze.  Let cool completely before freezing.

IMGP9839

Winter Squash Hash with Chanterelle Mushrooms & Fresh Herbs

IMGP9802.jpg

The chanterelle mushrooms in this recipe are from Alexzanna Farm (found at the Main St. Farmer's Market).  The best mushrooms to use are the ones that are freshly harvested, but you can substitute other fresh wild mushrooms found at grocery stores if the local ones are unavailable.

Ingredients:

2 Delicata squash, seeded and diced (do not peel)

1 Small butternut squash, peeled, seeded, and diced

1 Large Italian sweet pepper, seeded and diced

2 Medium yellow onions, peeled and sliced into wedges

About 1/2 lb fresh chanterelle mushrooms (Alexzanna Farm, Main St. farmer's Market)

1/2 Cup of chopped fresh herbs: Mixture of parsley, sage, rosemary & thyme

1/4 Cup of olive oil

Sea salt

Black Pepper

Method:

Preheat oven to 350 degrees.  Combine the vegetables, mushrooms, herbs and about 1/4 cup of olive oil and spread evenly on a baking tray or large ovenproof dish.  Season with salt and pepper.

 IMGP9801

Bake for about 60 - 90 minutes.  Turn with a spatula after about 45 minutes.  Remove from oven when the vegetables are soft and beginning to brown on the edges.

Roasted Eggplant Dip (Baba Ghanoush)

IMGP9707.jpg

There are many ways to make Baba Ghanoush.  Some recipes suggest salting the eggplant and letting it drain before cooking.  Others say to discard the skins after cooking, and puree the insides.  This recipe is more rustic in the preparation method; making use of the extra flavor, texture and nutrients in the edible skin. Letting the eggplant drain is not necessary, as any excess moisture will evaporate while roasting.

Ingredients:

1 lb eggplant

Olive oil

Kosher salt

Juice from 1/2 lemon

2 Tbs sesame tahini

2 Cloves of Garlic

1 tsp paprika

Fresh cilantro, chopped

Method:

Preheat oven to 400 degrees.

Remove stem from eggplant and slice into wedges or large chunks.  Place in a baking dish or tray, drizzle with olive oil, and season with kosher salt.

IMGP9699

Bake in the center of the oven for about 45 minutes to 1 hour.  The eggplant should be quite soft with golden-brown edges, but not dry when it's done.

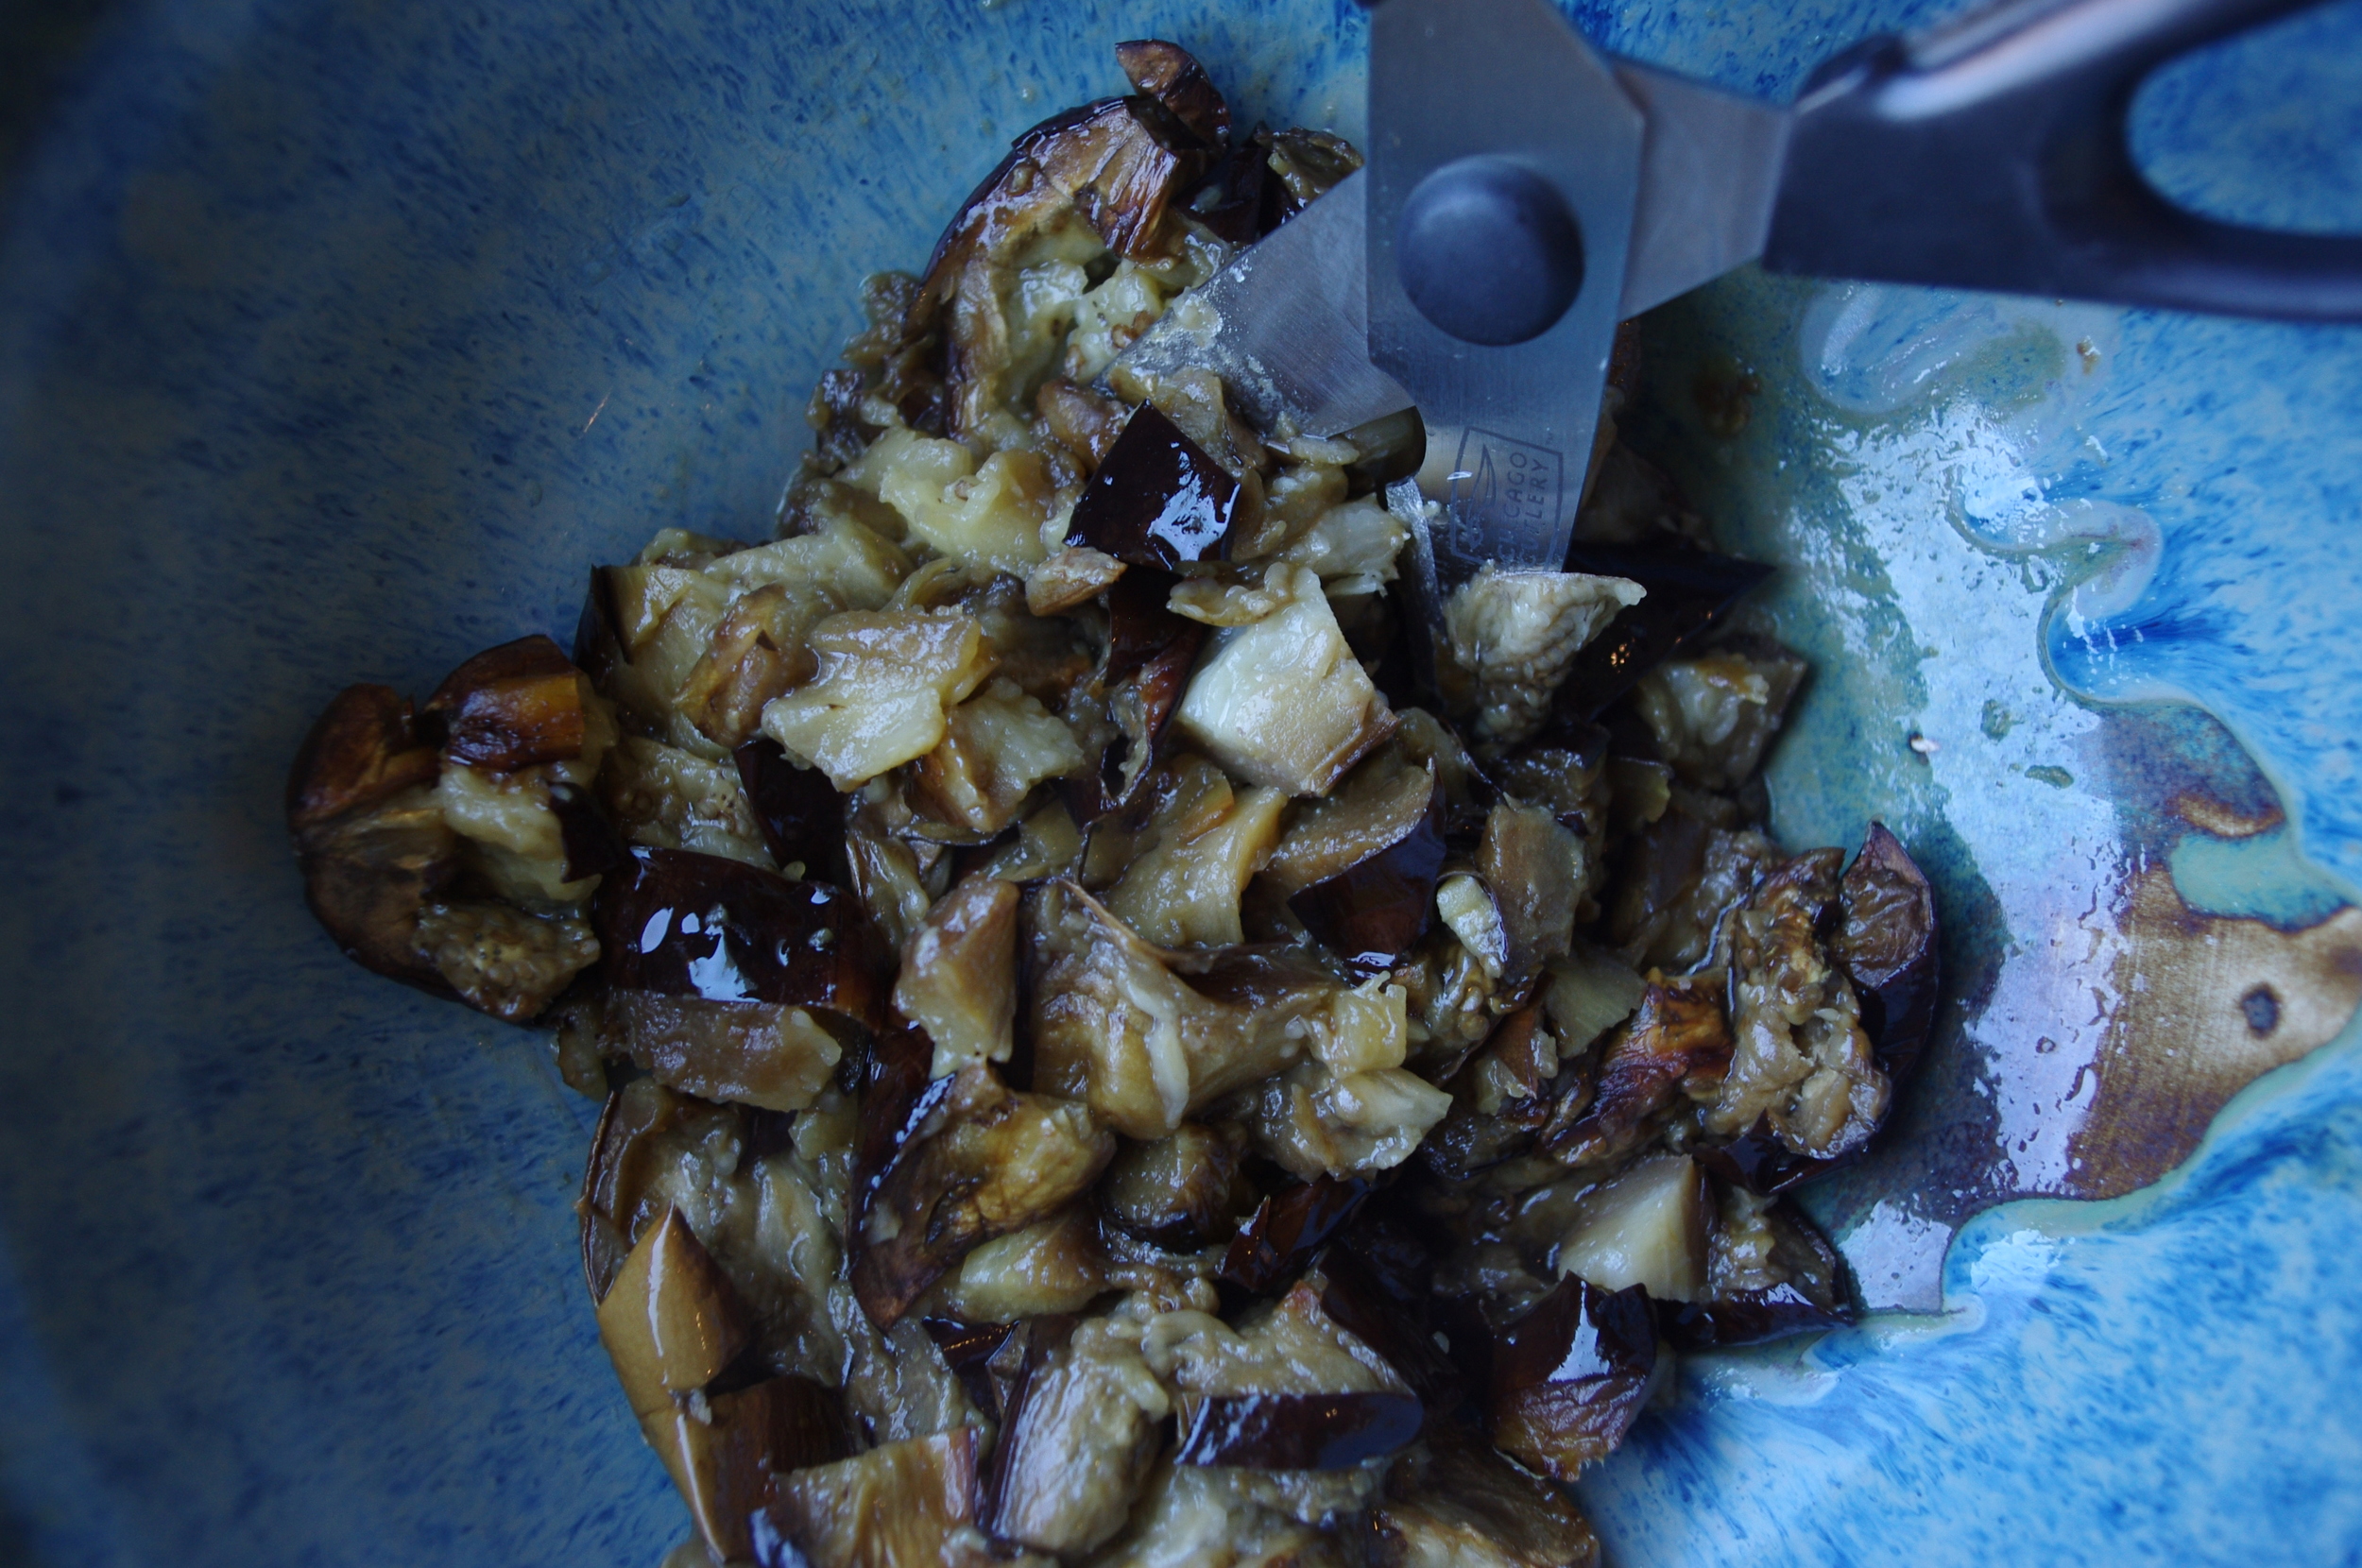
Place roasted eggplant in a bowl and cut into small chunks using kitchen shears.

IMGP9702

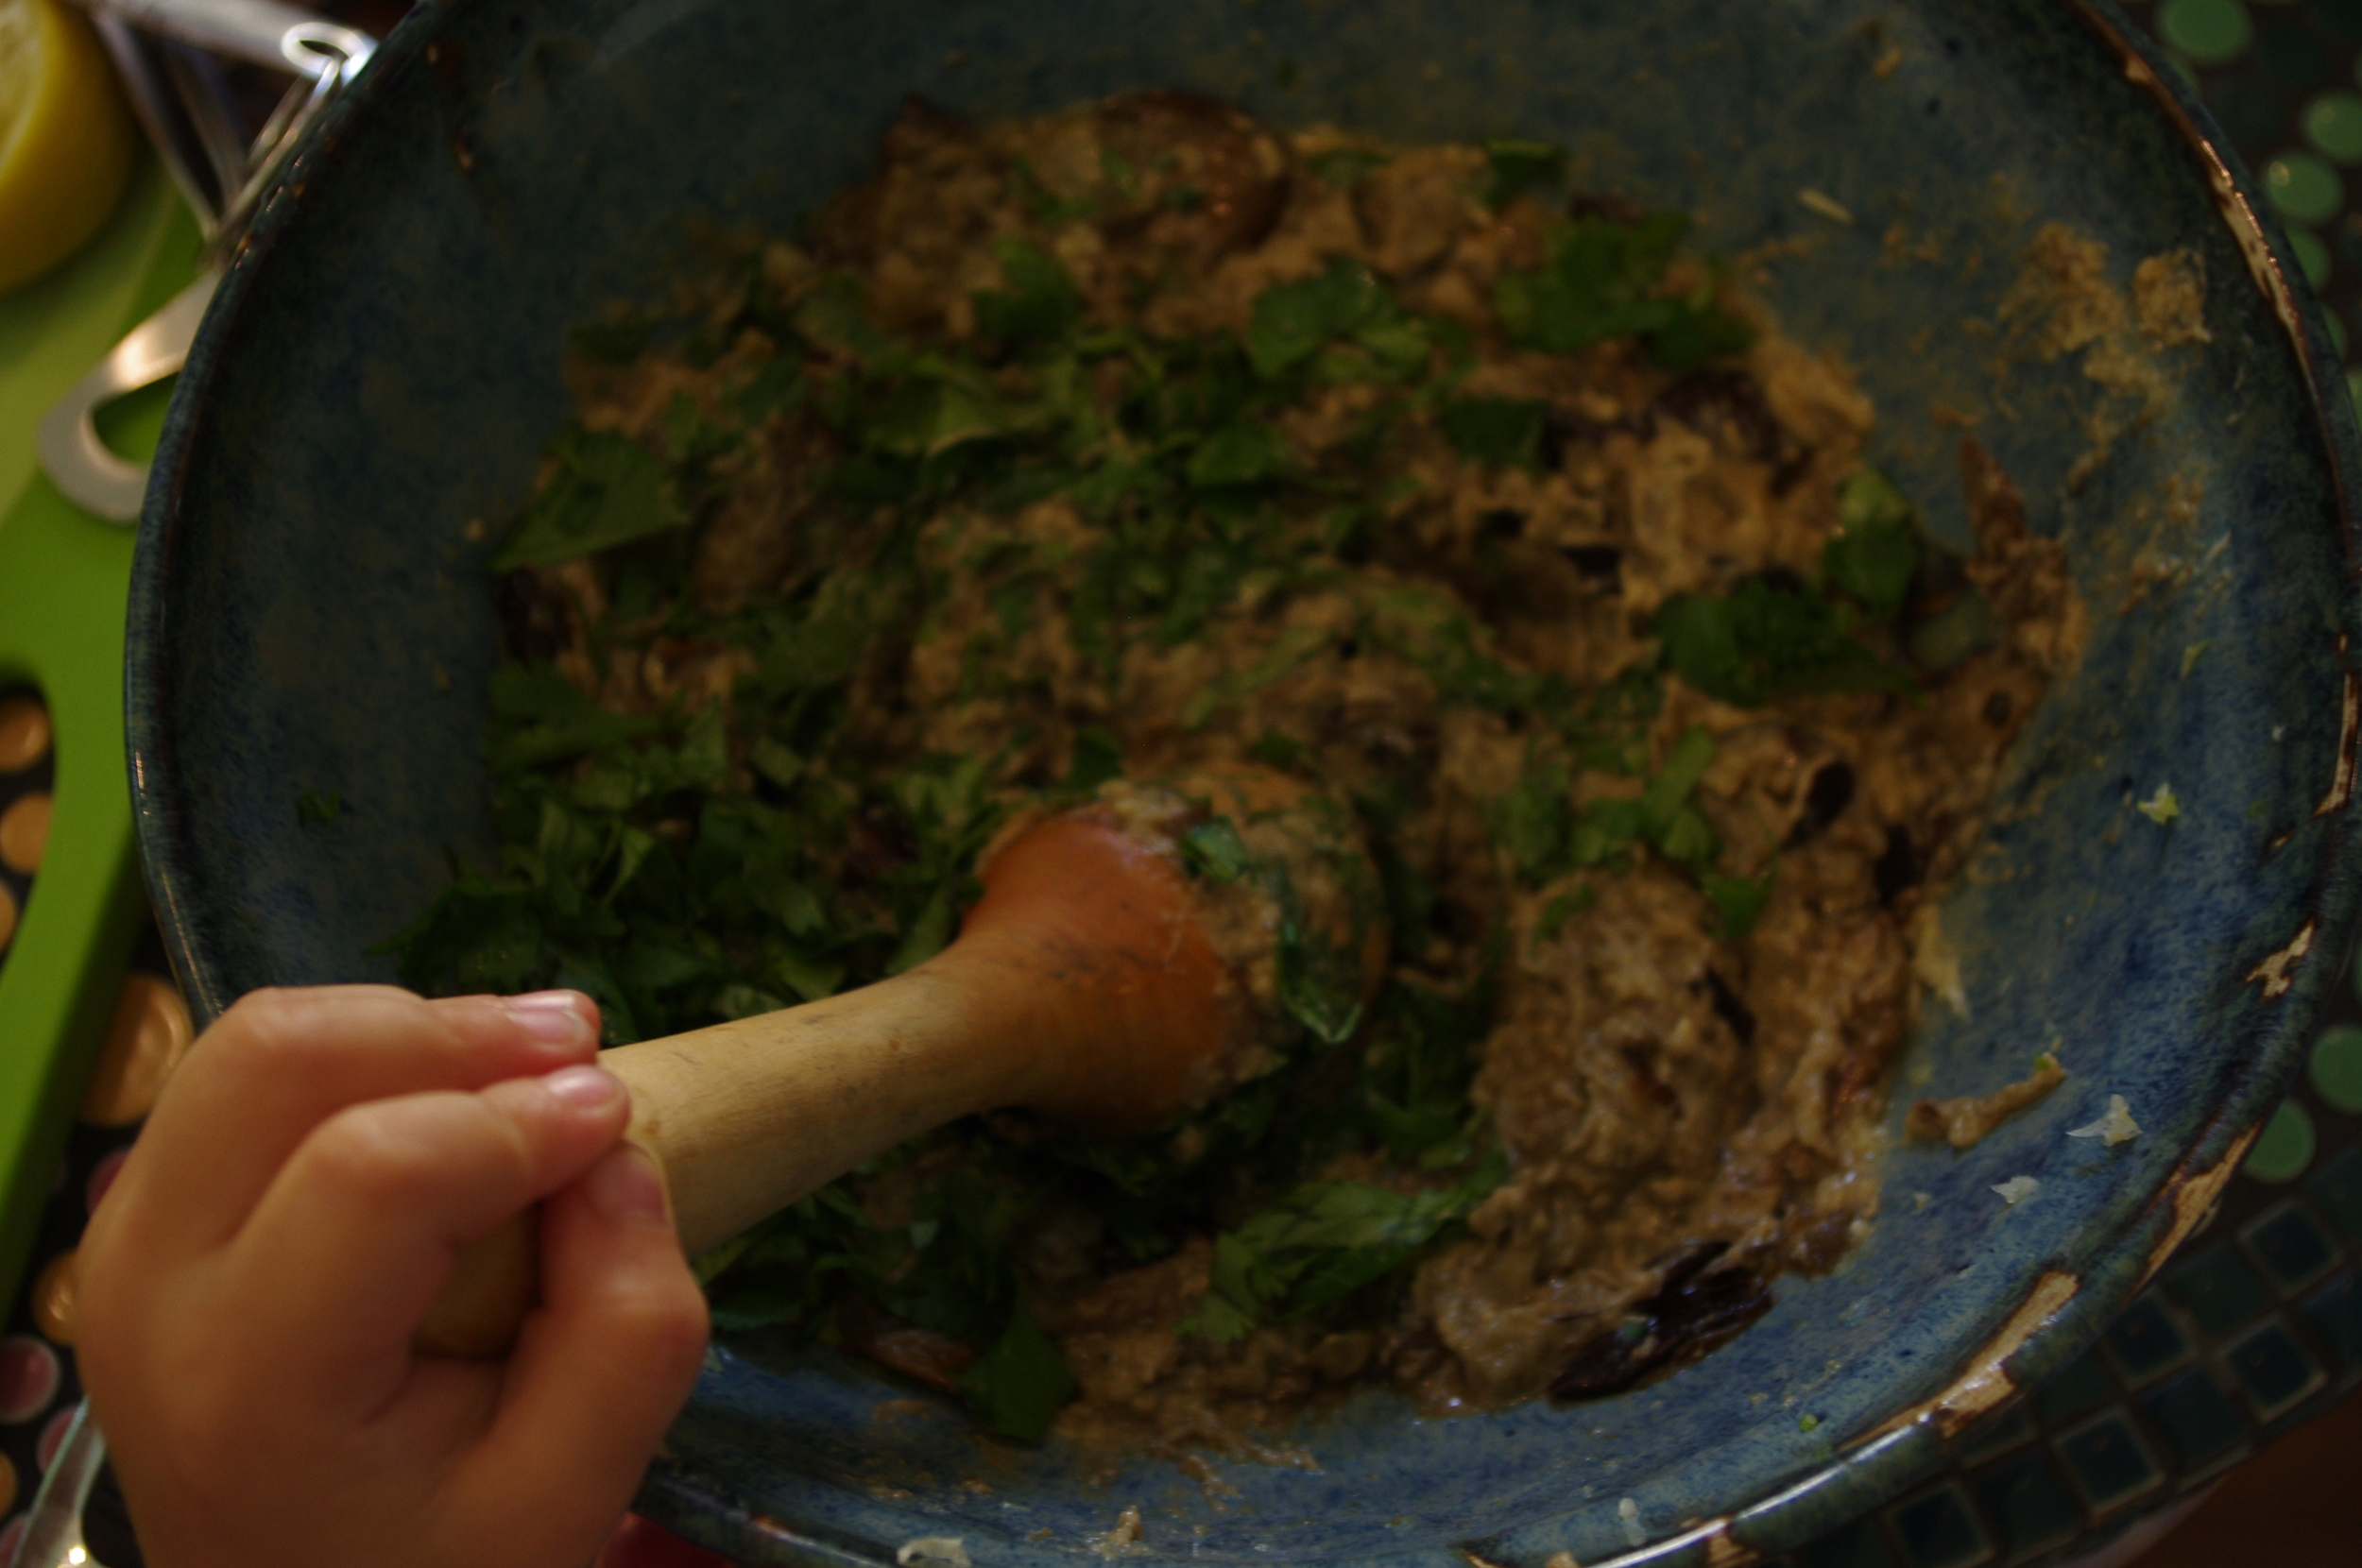
 Add the rest of the ingredients plus one Tbs olive oil, and pound with a mortar or wooden spoon until the ingredients are combined and the texture is soft enough to spread or use as a dip.

IMGP9706

Season to taste, and garnish with Toasted Garlic Drizzling Oil. Serve with pita chips, sliced raw vegetables, or use as a spread for sandwiches.


Pickles: Raw, Fermented, and Cooked

IMGP9624.jpg

Earlier in the season I posted a recipe for basic kimchi.  Perhaps it's not what immediately comes to mind when you hear the word "pickle," but pickle it is. For thousands of years people have been pickling foods through the process of fermentation. The basic principle is to salt food (or soak in a salt brine), store anaerobically (without the presence of air), and leave at room temperature long enough for the lactobacillus bacteria to kill off any unhealthy bacteria.  In this natural process of preserving perishables, a host of B-vitamins are produced, and the sour taste is an added bonus. At some point in history, vinegar (also a fermented product) became a main component in modern pickling. Most pickled vegetables in grocery stores have been processed with vinegar.  The reason for this is that the 5% acidity in vinegar is enough to reliably and consistently kill off bacteria and anything else that would produce a food borne illness.  The downside is that vinegar inhibits the growth of probiotics as well.  Heat processing, or canning will further reduce the natural vitamin C content, but allows food to be preserved safely for years.

We have used cucumbers, beans and corn, but you can try any of the methods with squash, peppers, or your favorite vegetable. If you are curious, and would like to do some experimenting of your own, here are three methods of pickling vegetables for you to try:

Method 1: Easy Dill Pickles by Chop Chop Magazine

(Click link above for the recipe)

This method uses the process of fermentation, while also using vinegar for flavor and faster pickling.  The vinegar inhibits the growth of  bacteria, so the fermentation will not be as active as a salt-only method.  However a benefit to this method is that because the cucumbers are never cooked or exposed to heat processing, the natural vitamin C content is preserved.

Method 2: Dilly Beans

This Method uses a traditional salt and vinegar brine and water bath canning for long-storage preservation.  The benefit of this method: Once canned and sealed, the jars of food do not require refrigeration and can be stored safely for years.  The downside is that much of the natural vitamins are reduced in the heat-processing. Nevertheless, these pickled beans are delicious!

Ingredients (for one quart of beans):

1 lb green beans, washed, stem end trimmed, and strings removed

1 Cup vinegar (5% acidity)

1 tsp kosher salt

1-2 Cloves of garlic, peeled

5-6 black peppercorns

1 Yellow cayenne hot pepper

3 Sprigs of fresh dill leaves, or one seeded dill flower head

Method:

In a 12-quart sized stock pot with lid and rack (a small aluminum disc with holes for raising jars slightly off the bottom surface of the pot), or water bath canner; boil about 10 quarts of water.  Have a second pot of boiling water available for topping up when you are ready to seal the jar.  Sterilize a quart-size mason jar and lid (wide-mouth is easier for this recipe).

Place the salt, cayenne hot pepper, garlic clove, peppercorns and dill in the bottom of the jar.  Pack the beans in the jar as tightly as possible.  You can stand them all upright if they are whole, or cut them into pieces.  Combine the vinegar and water in a small saucepan and boil. Pour the vinegar and water mixture into the filled jar, leaving 1/2 inch head space. Place lid and band on the jar, tightening to fingertip tight.

Using a canning jar lifter, place the jar of beans into the large pot of boiling water.  Top up with enough boiling water to cover the jar of beans entirely.  Place lid on the pot of boiling water and set timer for 5 minutes, (10 minutes if you are at an elevation of 1,001 ft or greater above sea level, 15 minutes if above 6,000 ft).

Once processing time is done, carefully remove jar with the canning jar lifter and place it on a cloth.  Let cool completely before checking that it is sealed.  Remove band and wipe away any moisture. Store in a cool, dark place for at least 6 weeks before opening and tasting.

Method 3: Pickled Beans and Corn

This is a traditional salt brine fermentation.  The corn and beans are blanched before brining to make the texture a little softer, but that step is not required.  This method makes the most of the natural pickling process.  Lactobacilius bacteria (present in the vegetables), converts sugars into lactic acid, which preserves the vegetables.  This process also produces B vitamins, while also preserving Vitamins C and A that are at their highest in raw vegetables.

Ingredients:

1 lb of green beans, ends and strings removed, cut into 1-inch pieces

2-3 Ears of sweetcorn, shucked and silks removed

2 Garlic cloves

2 Yellow cayenne hot peppers (dried or fresh)

4 Tbs pickling salt

Method:

Clean two quart-sized canning jars and their lids and place a clove of garlic and a cayenne pepper in each clean jar.  In a large bowl combine two quarts of water and 4 Tbs of pickling salt. Set aside.

Boil a large pot of water.  Place ears of shucked and cleaned corn into the water for about 1-3 minutes to blanch (depending on how soft you like the corn), but not too long. You don't want to kill the good bacteria inside the corn kernels.  Remove the corn from the boiling water and dunk it into a bowl of ice water until cold.  Next place the beans in the boiling water for about 30 seconds, or until they turn bright green.  Remove beans from the boiling water and place them in the bowl of ice water until cool.  Drain.

Cut the corn kernels off the cob.  Place the beans and corn kernels in the bowl of salt brine.  Mix and let rest for about 15 minutes.  Using a canning funnel over each jar, scoop the beans and corn out of the brine solution and fill the jars snugly, leaving an inch or two of space at the top.  Pour some of the brine into each jar until the beans and corn are completely covered.  Place lids on the jars and store at room temperature for 1-6 weeks.  Open the jars every day or so to check that they are fermenting and to press the beans and corn back down into the brine.  You can taste along the way to see if they are sour enough.  Once they are done to your liking, you can eat right away, or store the jars in the refrigerator for several months.


Roasted Butternut Squash Baked Custard

IMGP9549.jpg

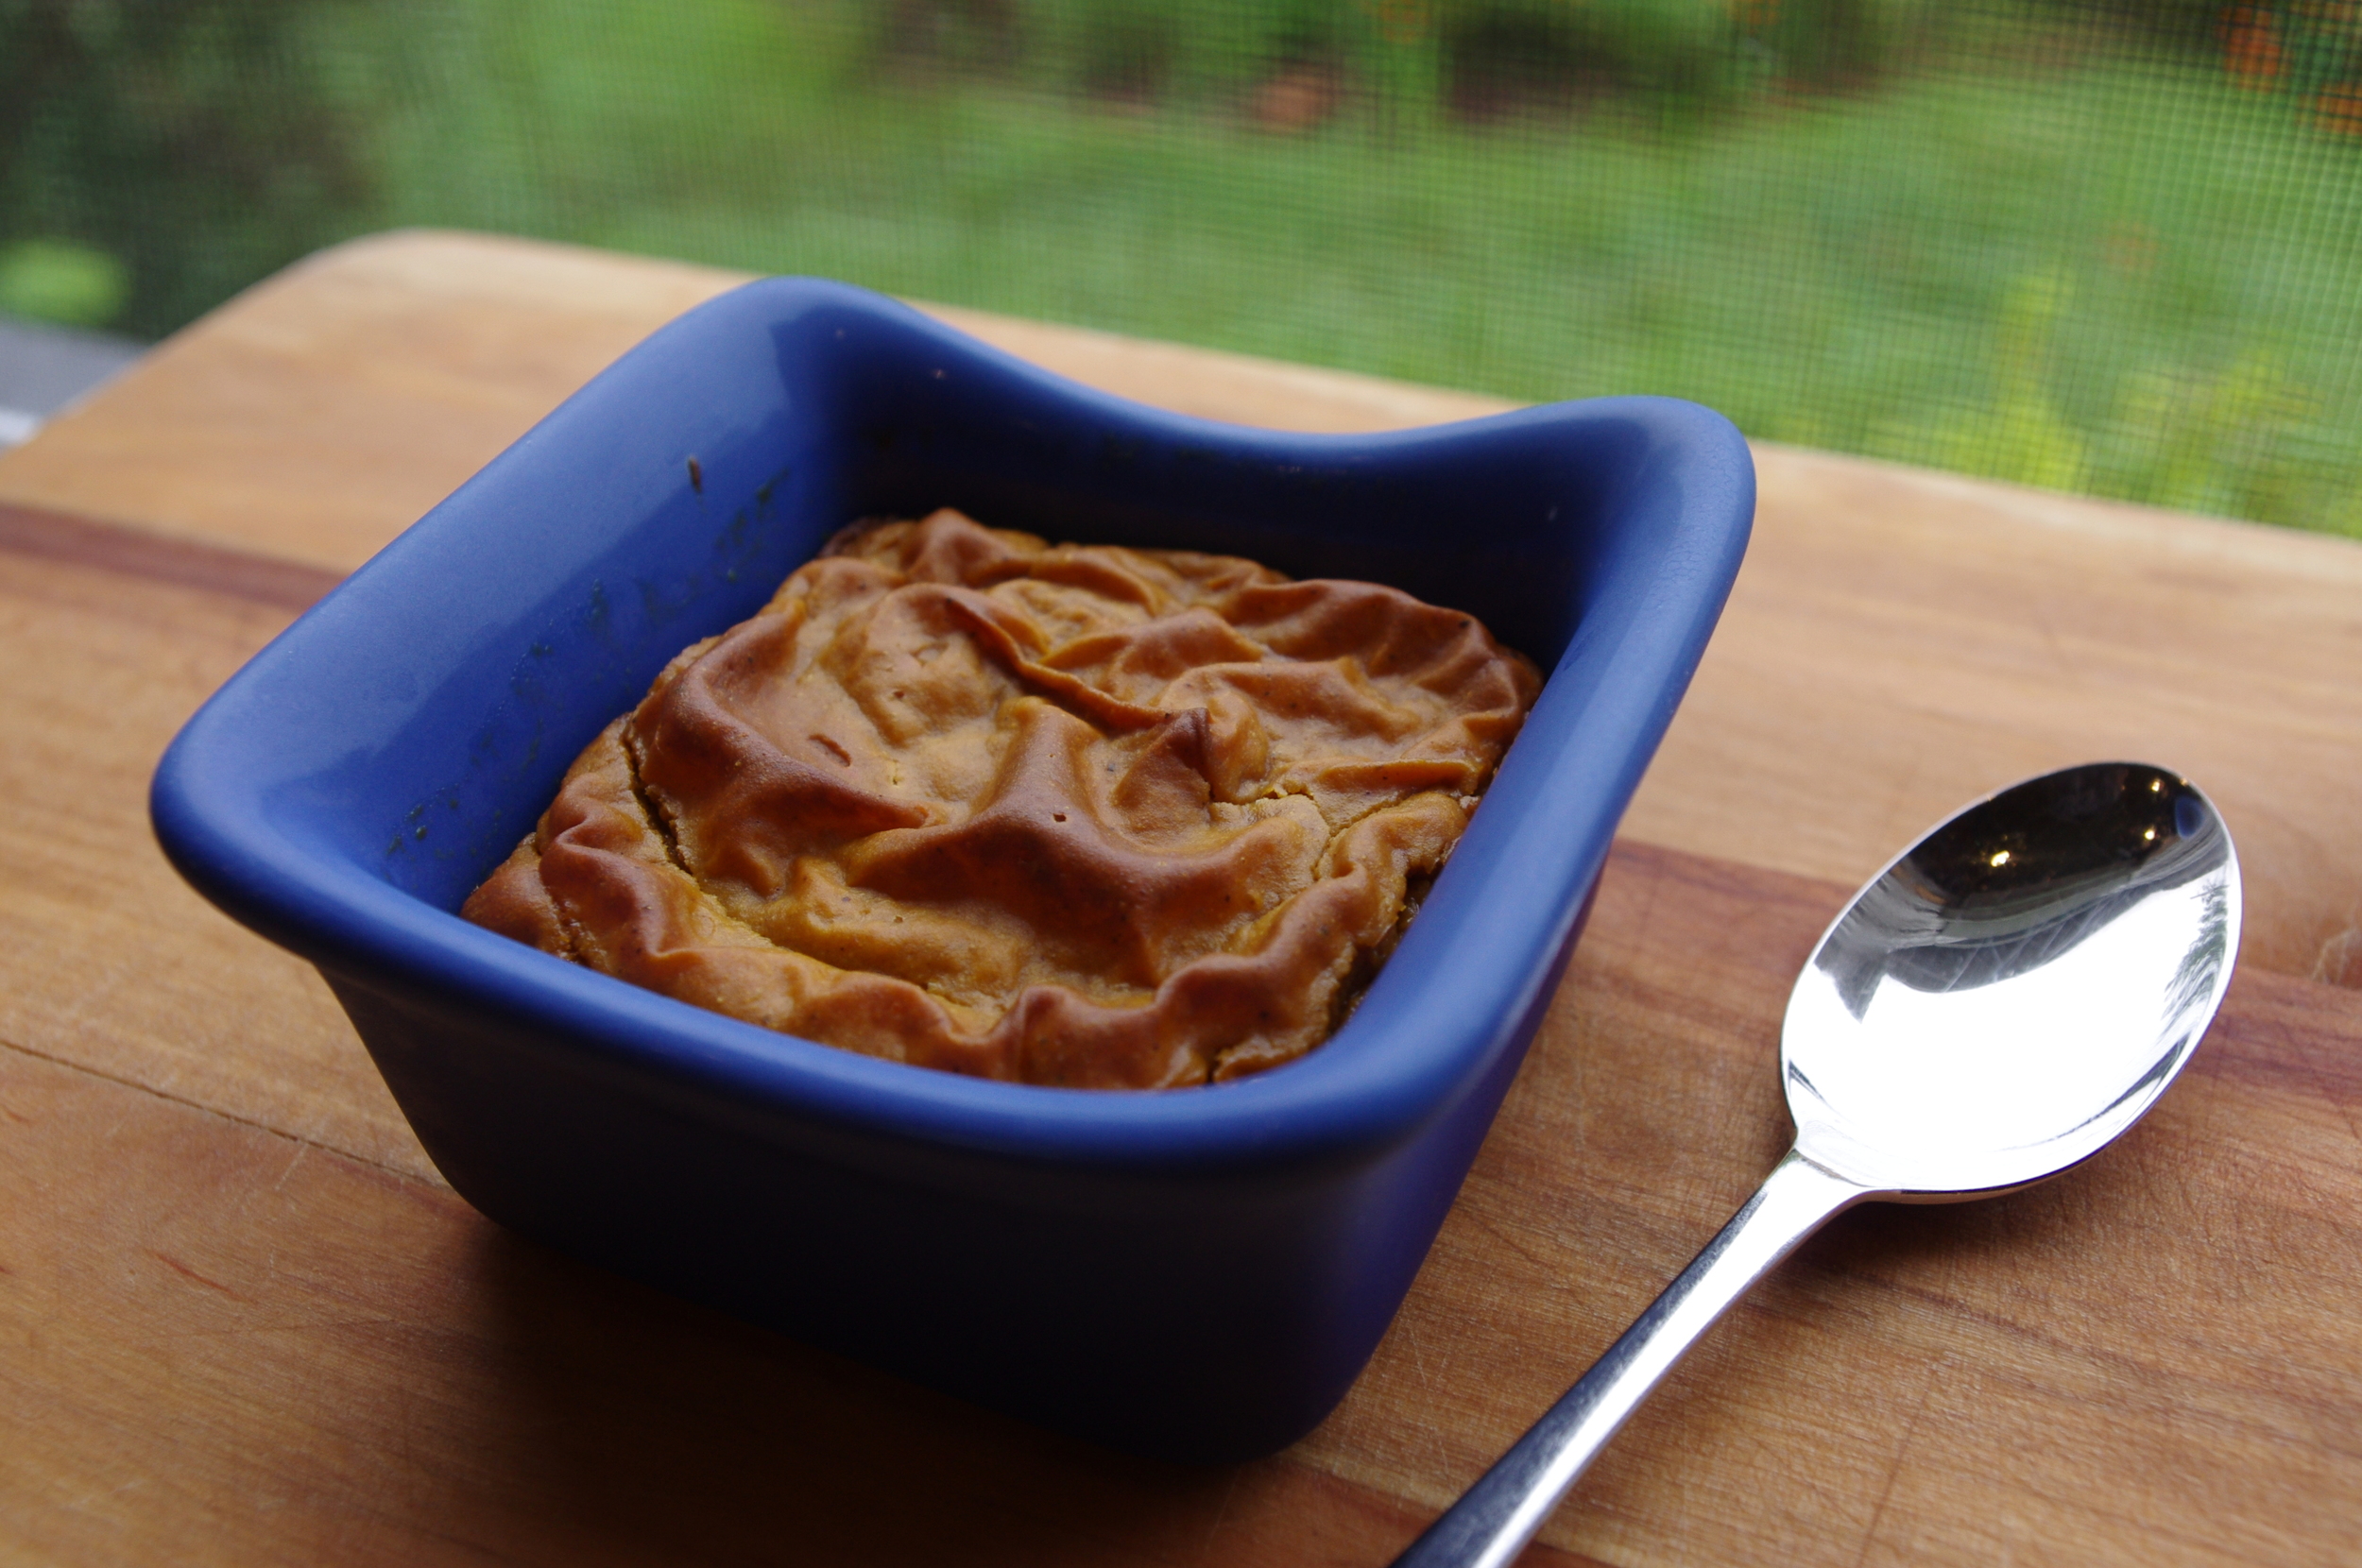
After these came out of the oven I immediately thought that if I had a blow torch I might have covered them in sugar and called it brulee.  The texture is soft like a pie, but less eggy than a true custard.  If you do want to make a pie, or light up a blow-torch to make a sugary shell for fun; this custard-like filling would be appropriate, but neither is required.  As is, this warm baked custard is sufficiently delicious. Also, for anyone with allergies: This recipe is gluten and dairy free.

Ingredients:

1 Medium butternut squash (about 1 1/2 -2lbs)

1 large or 2 small farm-fresh eggs

1 can unsweetened full-fat coconut milk (cold pressed)

1 Tbs local raw honey

Juice from 1/2 lemon

Kosher salt

Ground ginger

2 Kaffir lime leaves, dried or fresh (optional)

Olive or canola oil

Method:

Preheat oven to 400 degrees.  Peel the butternut squash, remove seeds, and dice into 1/2 inch cubes. Place in a baking dish and toss with a little oil.  Season with a sprinkle of kosher salt and a generous dash of ground ginger.  Place in the oven and bake for 60 - 90 minutes, or until the edges begin to turn dark brown, the squash is soft, and has lost a good bit of moisture. (See: How To Prepare Winter Squash).

About 15 minutes before the squash is done, place the coconut milk in a medium saucepan with the kaffir lime leaves and let simmer on the lowest heat setting.  Do not boil. Once the squash has caramelized, remove from the oven and add to the coconut milk.  Continue to simmer for another 15 minutes or so. Remove from heat and let cool. Discard the kaffir lime leaves.  Place the squash and milk mixture in a blender.  Add the honey and lemon juice then puree until combined.  Taste and adjust seasonings, honey, or lemon juice as desired.  Add the egg(s) then puree until smooth.  Pour or spoon into ramekins.

Place filled ramekins on a baking sheet in the oven and bake for about 30 minutes at 375 degrees.  Baking time will vary depending on the size of the ramekins.  If baking as a pie, reduce temperature to 350 degrees and cook for about one hour.  The custard will puff up and be set when done.  Remove from the oven and let rest for at least 20 minutes.  Serve warm or cold.