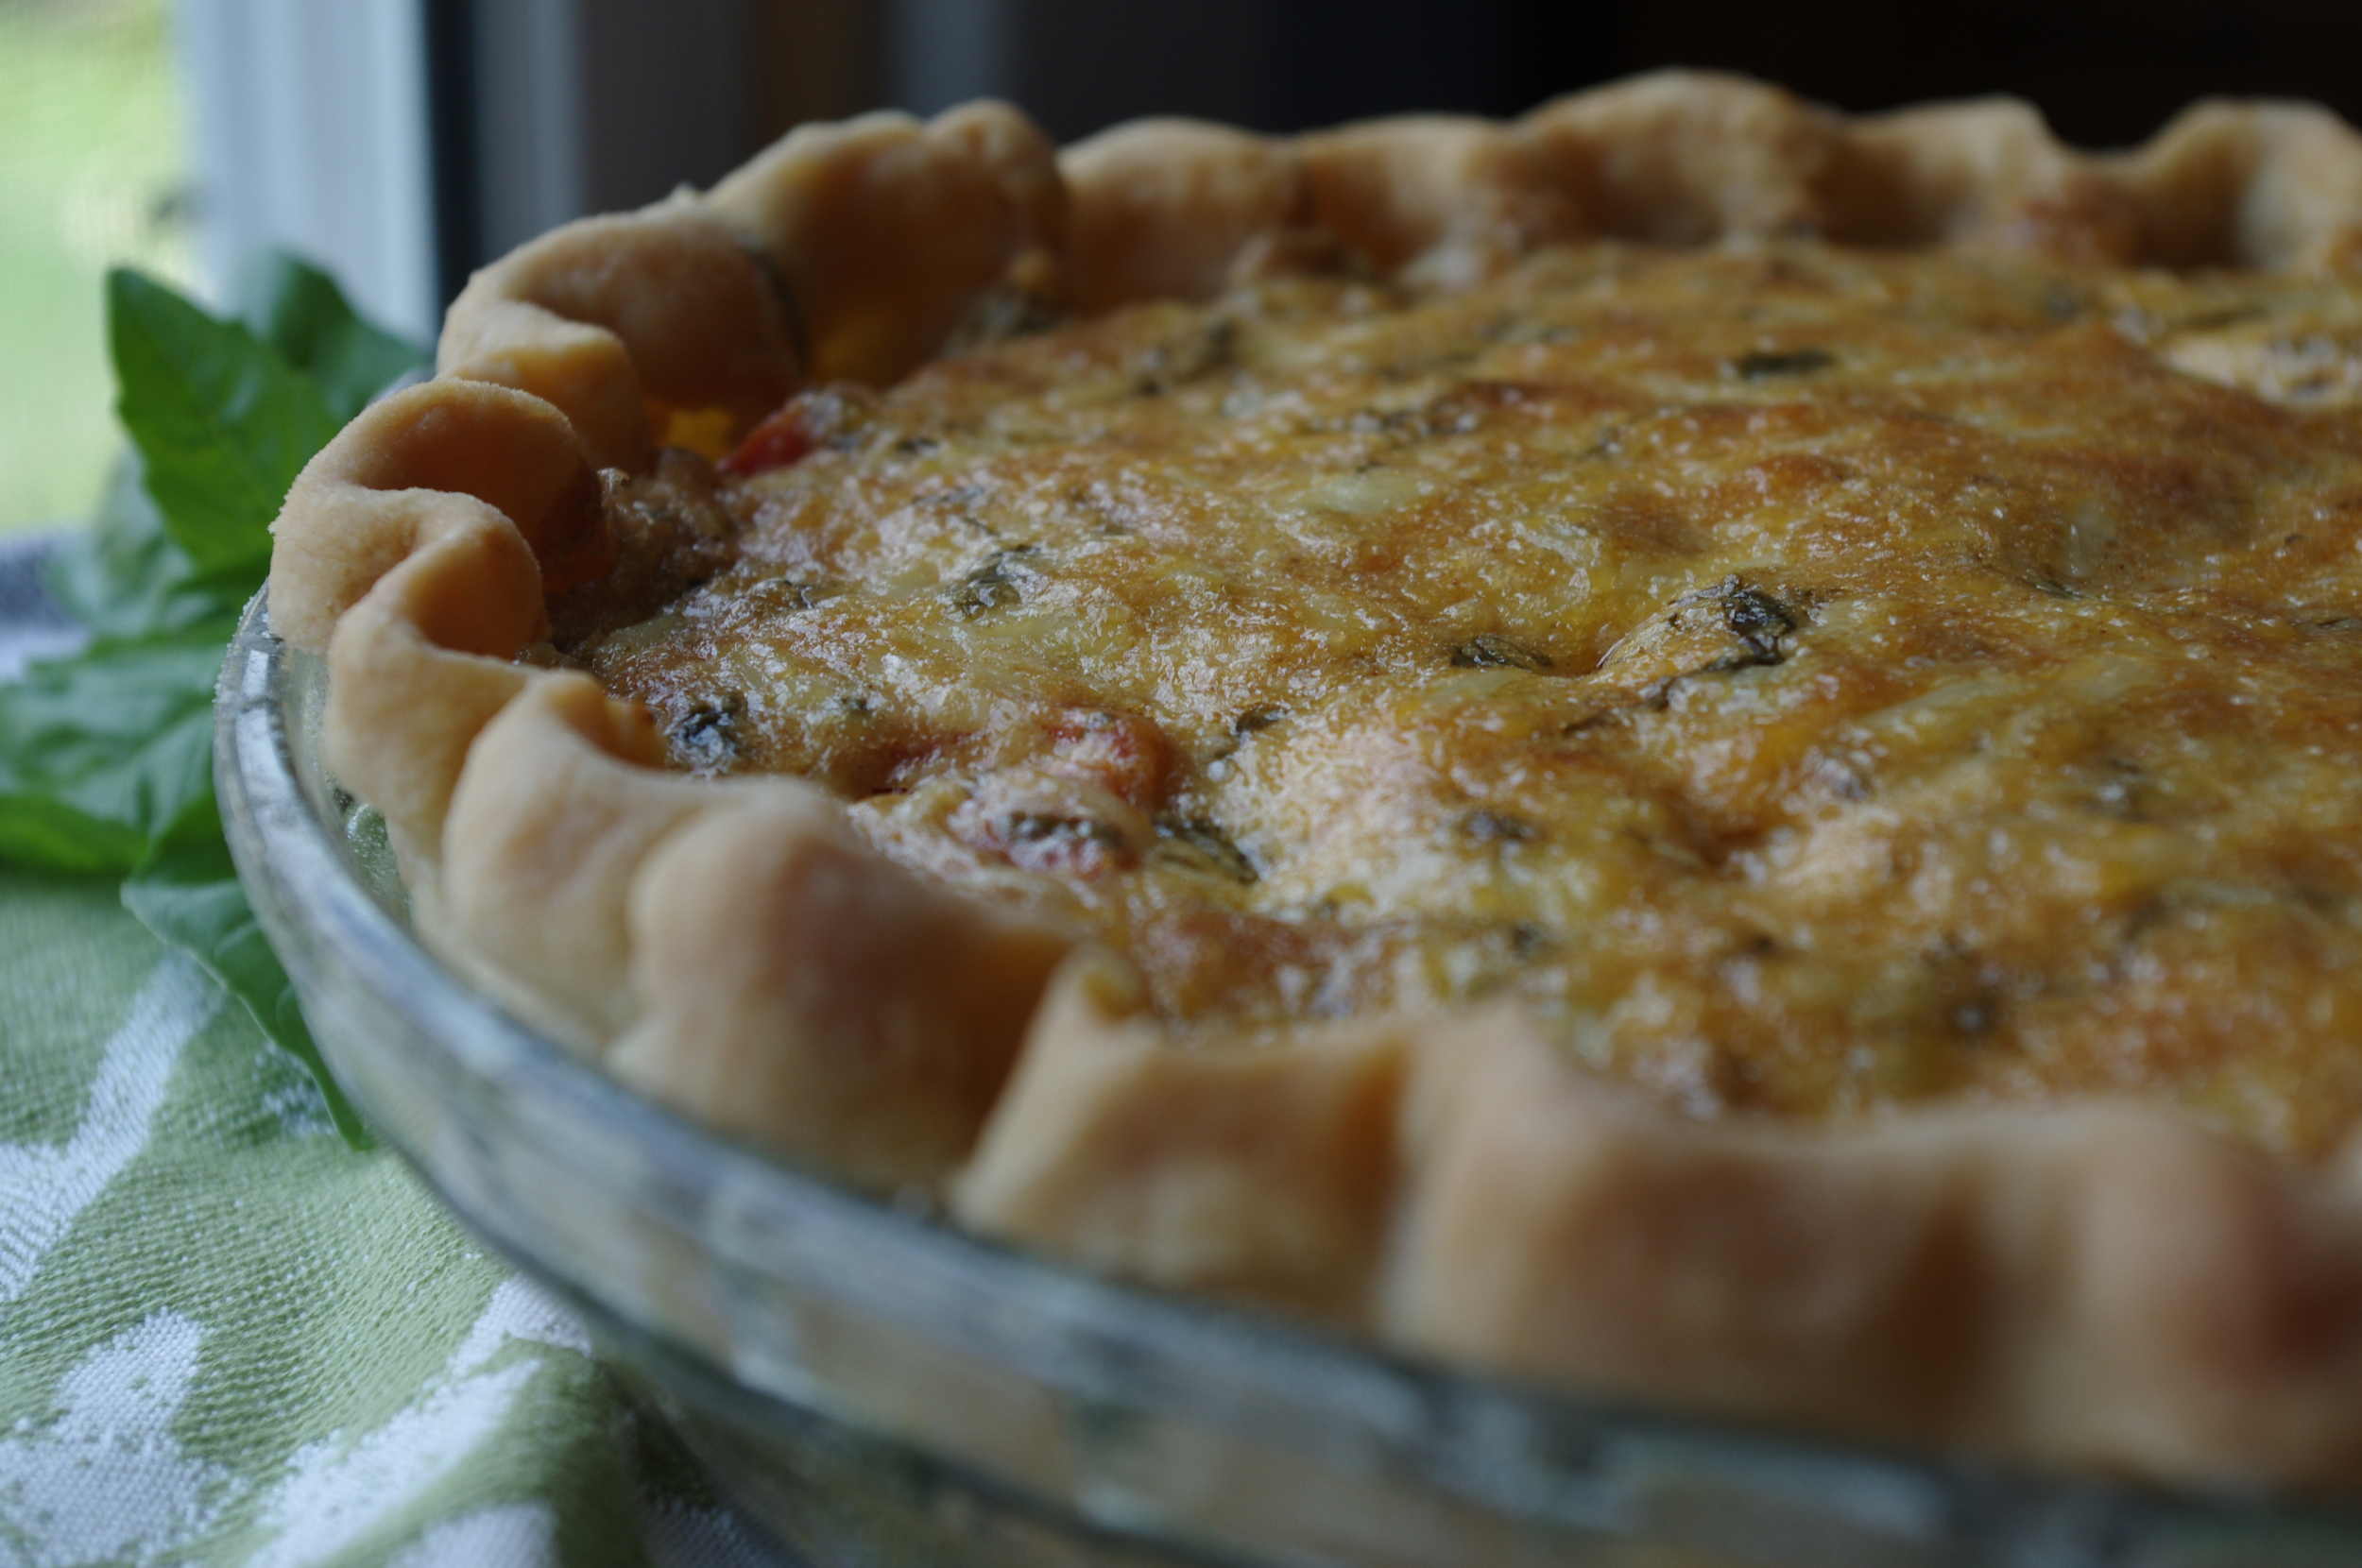
Tomato Pie with Basil-Garlic Aioli

IMGP5770.jpg

For this recipe, you may want to prepare these ingredients in advance: One recipe for Basil-Garlic Aioli One recipe for Classic Pie Crust

Ingredients: 3 beefsteak tomatoes 1 large yellow or vidalia onion 2-3 Tbs oil 2 cups of hard aged cheese like aged gouda, gruyere, or dubliner 1/2 tsp paprika 1 cup of basil-garlic aioli Salt and pepper

Method: Preheat the oven to 350 degrees. Place the prepared pie crust in the oven "blind" or without the fillings.  Bake for 10 minutes or until the surface begins to ripple and look puffy.  Remove from the oven and let cool.

Slice the tomatoes and put on a plate between layers of paper towel.  Press and squeeze to help draw out the moisture.  Set aside and let continue to drain for up to one hour.  Slice the onion into thin wedges and saute in a pan with the oil and a little salt.  Cook until the onions begin to soften and have browned a little.

Place the onions on the bottom of the cooked pie crust, followed by layers of sliced tomato. Sprinkle salt and black pepper onto the tomatoes. Mix together the basil-garlic aioli, cheese, and paprika, then spread the mixture over the top of the tomatoes.  Bake at 350 degrees for 45-55 minutes. Remove from the oven and let rest for 10 minutes before serving.  Can be served warm or cold.


Classic Pie Crust

IMGP5578.jpg

This recipe is for a deep dish (9 1/2 inch) single-crust pie. It is perfect with sweet or savory fillings, and once you have the hang of it, you will never buy a store bought crust again.  It's simple and delicious.

Ingredients: 6 oz (by weight) or 1 1/2 cups all purpose flour (plus extra for dusting)* 1/4-1/2 tsp salt 3 Tbs cold unsalted butter 3 Tbs vegetable shortening Cold water

Method: Weigh or measure flour. Stir in the salt then add the butter and shortening.  Gently rub the butter and shortening into the flour with your hands or a fork until it resembles large breadcrumbs. This part may take some practice, but the texture of your pastry depends on mixing these ingredients properly.  As much as possible, you want to coat the tiny pieces of butter and shortening in the flour without causing the fat to absorb into it.  Once the mixture resembles coarse breadcrumbs, you can begin adding cold water one tablespoon at a time.  Stir gently with a fork after each addition, and stop adding water once there is no loose flour in the bowl. At this point it should look like a shaggy dough and it begins to form  a ball when you stir. Be careful not to add too much water, as it can cause the pastry to be tough.  Gently form the dough into a ball, but try to handle it as little as possible. (At this point you can wrap the dough tightly in plastic and refrigerate for a later use.)

Flour a wooden board and rolling pin.  Place the ball of pastry on the board and begin shaping it into a circle, rolling evenly until it is about 16 inches in diameter.  Fold the pastry in half and gently lift it into the pie dish.  Open it up again and try to place it evenly, making sure the pastry is touching the bottom and sides of the dish without any gaps or air pockets.  Fold the overhanging parts inward and crimp with your thumb and forefingers. Follow recipe instructions for filling or baking blind.

*Troubleshooting tip: Make sure you are using fresh flour. Old flour can sometimes be brittle and will not hold together in a pastry recipe

Blueberry Apple Crumble

IMGP5718.jpg

This is an English-style recipe that is not as sweet as traditional American desserts, so if you have a sweet-tooth you may want to adjust the sugar to your taste.  Also, in many parts of the world, fresh cream or custard is poured over desserts as a sort of "gravy" to add richness and moisture.  If you prefer ice-cream or whipped cream that has been sweetened or flavored, they can also be a delicious compliment to this dish.

Ingredients: 1 pint of fresh blueberries, washed and stems removed 1 crisp apple, chopped into large chunks 1 tsp vanilla extract zest from 1/2 lemon 1 Tbs sucanat or brown sugar 1 Tbs flour (optional)

Crumble Topping: 1 cup oats 1/2 cup ground pecans 1/2 cup sucanat or brown sugar 1/4 cup whole wheat flour 1 tsp cinnamon 1/4 tsp ground ginger 1/4 tsp ground cloves 1/2 stick (2 oz) butter

Method: In a medium-sized bowl, mix together the dry ingredients for the crumble topping. With your hands, rub the butter into the oat mixture until it resembles bread crumbs.  In a separate bowl, mix together the blueberries, apple, vanilla, lemon zest, 1 tbs sucanat and 1 tbs flour (if desired).  Place in a deep oven-proof baking dish (bowl or oval shaped is preferable).  Cover with the crumble topping and bake at 350 degrees for one hour. Let rest for about 15 minutes before serving.  Pour a little cream or custard over the top before serving.


Chocolate Blueberry Zucchini Bread

IMGP5674.jpg

No self-respecting farm blog will be without a good zucchini bread recipe.  When zucchini and squash are in season, we are all looking for creative ways to eat it all before it spoils. This particular recipe also puts those summer blueberries to good use and has an added layer of decadence with rich dark chocolate. There are many ways to get flavor in a bread like this, and if you are not concerned about dairy or fats, buttermilk will give the best texture, hands down. With two good friends* in my kitchen, however, we were able to put our heads together and come up with this one. It is low-fat, high-fiber, and tasty enough to make the kids think they are eating cake for breakfast.

Ingredients: 3 cups prairie gold whole wheat flour (or can use half hard red whole wheat and half white flour) 1/2 cup cocoa powder 1 tbs baking powder 1/4 tsp baking soda 1/2 cup sucanat dash of salt 2 tsp cinnamon 1/2 tsp cloves 1/4 whole nutmeg, grated

1/2 cup local honey 2 tsp vanilla 3-4 eggs (less if you like it crumbly, more if you like it spongy) 3.5 oz good quality dark chocolate (70-90% cocoa), melted 1/2 cup unsweetened applesauce 2 zucchini or zephyr squash, grated (about 2-3 cups) 1 pint of blueberries

Method: Preheat oven to 350 degrees. Oil two loaf pans. Sift flour, cocoa, baking soda, baking powder, salt and spices together in a large bowl. In a separate bowl, whisk together the eggs, vanilla, melted chocolate and honey.  Combine the wet ingredients, dry ingredients and zucchini.  Fold in the blueberries.  Divide evenly into the prepared pans and bake for 1 hour, or until a skewer comes out clean.

*Credits to Gina Krabbendam and Oriel Wiggins for their contributions to this recipe.

Soft Wheat Sandwich Bread

Soft-Wheat-Sandwich-Bread.jpg

Cucumbers and basil are here, and before you know it we will have juicy heirloom tomatoes to stack into our picnics and sandwiches.  So before we get too far into the season I thought I would make sure you have a good sandwich bread recipe. And this is the easiest bread recipe I have ever seen.  It seems to be foolproof, since everyone in my family (including my 4-year-old) has managed to bake a decent loaf with this one.  So if you were thinking, "Hey, I'd like to try baking a fresh loaf of bread sometime," then now is the time.  The original recipe came from a friend in Poltava, Ukraine.  She said it's a traditional village loaf, and the first bread she baked as a child.  I'm giving you an edited version that uses oil instead of butter, and I don't use an egg wash over the crust before it bakes.  If you want a shiny crust, you can brush a whisked egg over the top before you bake.

Ingredients:  5 cups or 700gr wheat flour* 2 tsp salt 1/4 cup canola or olive oil, plus extra for oiling pans 2 tsp dried yeast** 1 Tbs local raw honey 450 ml warm water (about 115 degrees)

Method: Pour the yeast, honey, and 1/2 cup of the water into a bowl or glass jug. Mix together gently and let rest until the yeast becomes frothy and puffs up. Weigh or measure flour and salt into a large bowl and mix with a fork. Add the oil and stir with a fork until it is fairly evenly distributed. Add the yeast & honey mixture, plus the rest of the water to the flour and gently mix together with a wooden spoon until the flour is all wet and begins to form a ball. You can knead this bread pretty much any way that you like, as long as you don't knead it too much.  Over-kneading will make the bread tough.  Not enough, and it might be too crumbly for a sandwich.  My favorite way is to knead it in the bowl, adding flour if it gets too sticky.  I grab the edges and fold and press them into the center.  About 60 times is usually enough to have a smooth, evenly textured dough. In another large bowl, drizzle some oil (enough to generously coat the bowl).  Turn the dough into the bowl, then flip over so both sides of the dough are coated in oil.  Cover with a cotton (not terrycloth) towel, and place in the oven with the light on and the door shut.  Do not turn on heat. Leave until the dough doubles in size (1-2 hours). Meanwhile, generously oil two glass loaf pans. When the dough has doubled, turn it out onto a floured board.  divide the dough into two parts.  Knead each ball about 20-30 times, then stretch or roll it into a loaf shape.  Place the dough in the oiled pans then return them to the oven with the light on.  Leave to rise for about 30 minutes, or until they have filled the pans and begin to rise above the edges a bit.  Turn the oven on to 400 degrees F. and set the timer for 30 minutes.

It may take 5 minutes more or less, depending on your oven, the weather, or how brown you like your loaf. It will be done when it sounds hollow when you tap on the top of the loaf.

Remove the loaves from the pans immediately and place on a cooling rack to rest for at least 20 minutes.

*Rise times will vary depending on the type of flour that you use.  White flour rises faster, soft bronze whole wheat will take a little longer, and hard red whole wheat will be the heaviest and will not rise as well as the softer grains.  You may want to get a variety of flours and try blending to your taste. **I use Saf-Instant yeast (purchased on Amazon.com). It's great and keeps well in the freezer, wrapped in a ziplock bag.  I am not a professional baker, but I have read that the quality of your yeast can make a big difference.